Building a smart home often feels like trying to learn a new language, but the rise of the Matter standard has changed that for everyday homeowners. You no longer need a computer science degree or a background in network engineering to create a sophisticated, private, and locally controlled smart home ecosystem — a Matter hub makes it achievable for anyone.
By taking a Matter-first approach, you can bypass the traditional headaches of incompatible devices and messy cloud dependencies, trading technical frustration for a weekend project that actually works — and a future-proof system built from the ground up
This guide simplifies the transition from a chaotic collection of apps to a streamlined, professional-grade Matter hub. We break the process down into six manageable phases — from initial planning and hardware selection to network optimization and long-term maintenance — giving you the clarity, confidence, and a plan that scales with your needs.
Whether you want local control over your lighting or need your smart locks to work when the internet goes out, this guide provides a clear, jargon-free roadmap to building a resilient home automation foundation you can be proud of.
Why You Can Build a Matter Hub (Even Without a Tech Degree)
You don’t need formal technical credentials to set up a Matter hub reliably. With clear goals and a step-by-step approach, you can create a secure, standards-based hub that delivers interoperability, local control, and better privacy. Expect a moderate learning curve — covering basic networking, hardware selection, and configuration — but many users complete a functional setup in a weekend.
This guide walks you through everything you need — from planning goals and selecting compatible hardware, to preparing your network, installing the Matter stack, securing and monitoring your setup, and scaling without overwhelm. You’ll get clear, actionable steps and realistic expectations whether you’re a first-time builder or upgrading an existing system. Let’s get started.
1
Plan Your Hub: Define Goals, Scope, and Success Metrics
How to set up a Matter hub: The Essential Steps
Designing a high-performance Matter hub starts with clear goals, precise planning, and refined technology.
Define clear goals first
Start by writing a one‑sentence mission for your hub: e.g., “Provide reliable, local control of lights and locks with minimal cloud dependency.” That sentence will guide choices later. Ask: do you need full local autonomy (no cloud), simple voice control, or advanced automations? Each choice changes hardware, backup, and privacy tradeoffs.
Inventory devices and expected scale
Make a quick spreadsheet listing devices you already own and those you plan to buy. Note type, protocol (Wi‑Fi, Thread, Zigbee, Bluetooth), and whether they are battery‑powered or wired.
Typical home: 10–50 devices; small homes often sit under 20, busy smart homes can exceed 50.
Example hardware signals: if you expect 10–30 devices, a Raspberry Pi 4 or a Home Assistant Yellow is usually sufficient; beyond ~50, consider an Intel NUC or small server for headroom.
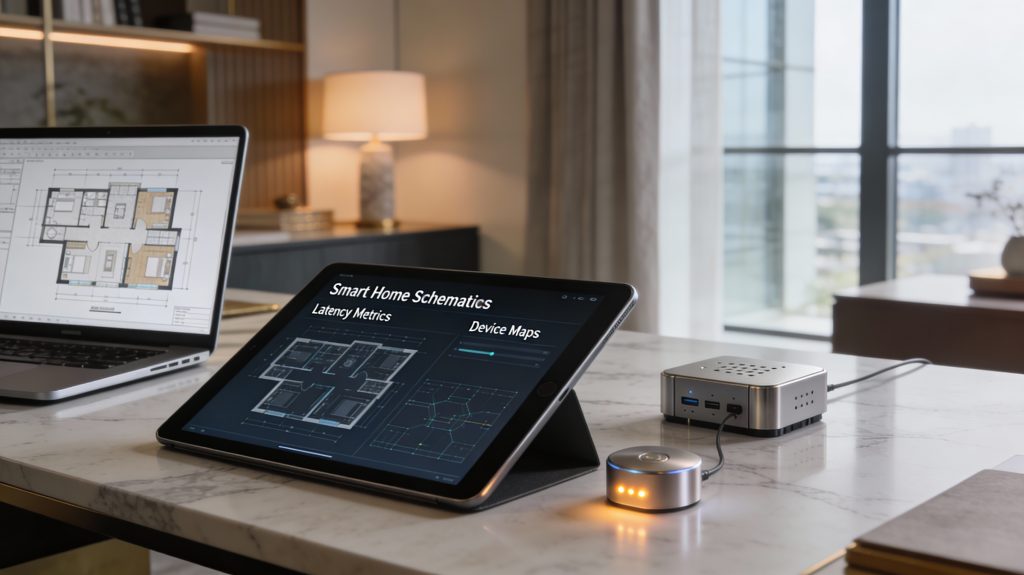
Set concrete success metrics
Choose measurable, attainable targets so you can verify success:
Local control reliability for critical devices (lights, door locks): 99% over a 30‑day window.
Average command latency: under 500 ms for local commands; allow higher for cloud fallbacks.
Nighttime availability: 99% uptime between 10 PM–6 AM.
Recovery time objective: e.g., full automation restored within 5 minutes after a reboot.
You can measure these with simple tests (periodic pings, automation logs, or Home Assistant statistics).
Map physical zones and connectivity
Sketch your home by room/floor and mark connectivity types.
Wired mains devices: prioritize for mission‑critical use (locks, garage).
Battery devices: expect slower reporting and longer sleep cycles; don’t rely on them for immediate feedback.
Thread and Zigbee mesh: place border routers/routers centrally for coverage.
Prioritize capabilities
When planning your Matter hub setup, decide what matters most — reliability, security, or privacy — and rank your priorities accordingly. For example, preferring local-only control over remote cloud access will shape your backup strategies, such as using a UPS for the hub and redundant border routers, as well as your approach to network segmentation. With clear goals, a device inventory, performance metrics, and a zone map in hand, you’ll be well positioned to choose hardware and software that fit your skill level and budget.
2
Choose Hardware and Software That Match Your Skills
Choosing the right Matter hub hardware is a balance of control, simplicity, and long-term reliability.
Plug‑and‑play, DIY single‑board, or cloud‑assisted?
You can assemble a Matter hub from three approachable paths. Pick by how much hands‑on work you want:
Plug‑and‑play devices (e.g., Apple HomePod mini, Google Nest Hub, Amazon Echo 4th gen): easiest to set up, often act as Thread border routers, but limit customization and may rely on cloud features.
Single‑board computers with friendly images (e.g., Raspberry Pi 4 running Home Assistant OS, Home Assistant Yellow appliance): affordable and flexible; expect some initial configuration and occasional troubleshooting.
Managed/cloud‑assisted services (e.g., Home Assistant with a paid remote access service): minimal maintenance and easier remote access, at the cost of recurring fees and some privacy tradeoffs.
Key hardware factors to evaluate
Match hardware specs to your device count and desired behaviors:
CPU & RAM: Aim for an entry system with at least 2 CPU cores and 4 GB RAM for small homes (10–30 devices); choose 4 cores and 8 GB+ for larger setups or heavy integrations.
Radio support: Ensure Thread border‑router capability (or add a Thread border-router device), and check Wi‑Fi and Bluetooth if you’ll bridge non‑Matter devices.
Connectivity & power: Use Ethernet for the hub whenever possible; plan for a stable power source and consider a small UPS for mission‑critical hubs.
Expected lifespan & cost: Single‑board options run $35–$200; appliance/server choices range $200–$600+; managed services commonly cost a few dollars/month.
Choose software with active development and clear update policies. Practical options:
Home Assistant (community and vendor images): broad device support, regular releases, large community.
OpenThread/OTBR for Thread border routing when using a dedicated radio device.
Vendor solutions for fully supported, simple setups (check their update cadence and end‑of‑life policy).
Quick decision checklist
Use these objective criteria to decide quickly: cost range, expected lifespan, update cadence, community activity, and level of control vs. convenience. If you want low friction, pick a vendor border router + managed cloud. If you value privacy and control, choose a local Home Assistant install on a Raspberry Pi 4 (4–8 GB) or an Intel NUC for larger setups.
3
Prepare Your Network and Physical Environment
A stable network isn’t optional—it’s the foundation of a reliable Matter smart home.
A reliable network is the backbone of any Matter hub. This section turns that principle into concrete, low‑friction steps so your hub behaves predictably day after day.
Wired core, wireless endpoints
Whenever possible, give your core hub a wired Ethernet connection to your main router or switch. Ethernet dramatically reduces latency and packet loss compared to Wi‑Fi. Practical options:
Raspberry Pi 4 or Home Assistant Yellow: use the RJ45 port and a short Cat6 cable.
If your router is far away, add a small unmanaged switch (TP‑Link TL‑SG105) to keep the hub wired without rewiring the house.
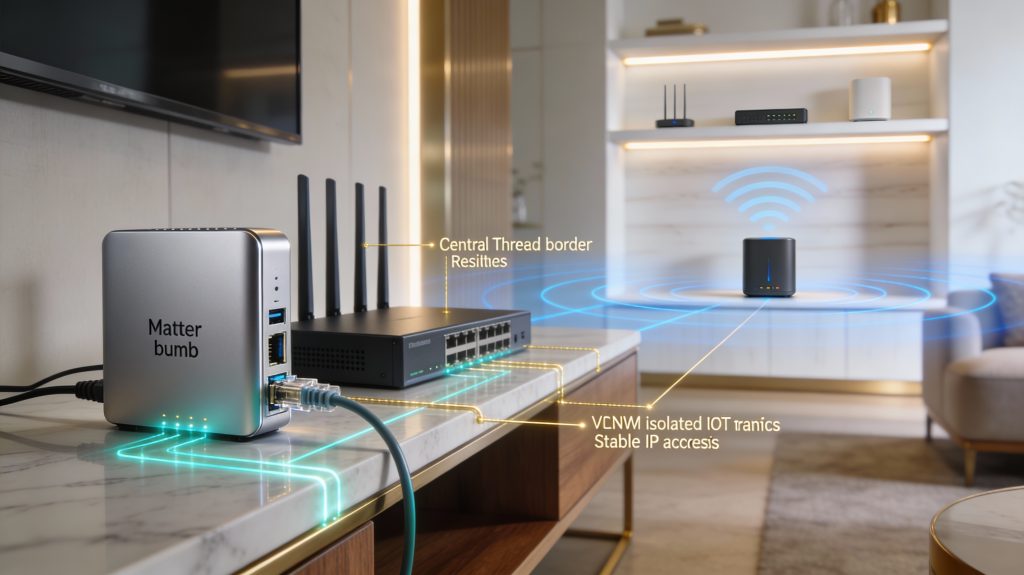
Segment IoT traffic
Limit lateral access and simplify troubleshooting by isolating IoT devices:
Create a dedicated VLAN or a separate SSID/guest network for your IoT devices.
If your router doesn’t support VLANs, use a guest network as a basic isolation layer.
Recommended consumer gear: Ubiquiti UniFi (for VLANs) or Eero/Google Nest (guest SSID for isolation).
Consistent IP addressing
Automation breaks when your hub’s IP changes. Use one of:
Static IP on the hub (set in the device’s network settings), or
DHCP reservation (preferred)—bind the hub’s MAC address to a fixed IP in your router admin.
Quick tip: document the IP in your hub setup notes so integrations don’t lose track.
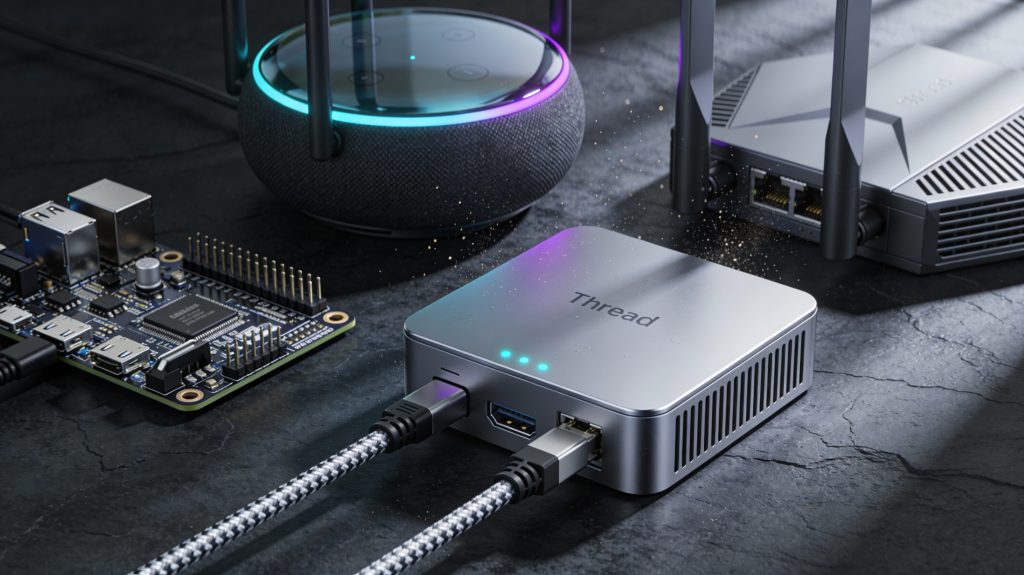
Thread placement vs Wi‑Fi planning
Thread: place Thread border routers centrally (e.g., living room shelf 1–2 m high). Thread mesh works best with multiple border-capable devices (HomePod mini, Nest Hub) or a Nordic nRF52840 USB + OTBR if DIY.
Wi‑Fi: target RSSI better than −67 dBm for consistent control. Use tools like NetSpot, inSSIDer, or the free Wi‑Fi Analyzer app to map coverage.
If signal is weak, add APs or mesh extenders (Eero, TP‑Link Deco, UniFi APs) rather than relying on a single distant router.
QoS and interference management
If your router supports QoS, prioritize the hub’s IP/MAC or low‑latency traffic so automations fire reliably.
Avoid placing the hub near microwaves, cordless phones, metal cabinets, or large aquariums—those are common RF troublemakers.
With these network and placement steps completed, you’ll reduce flaky behavior and be ready to move on to installing and configuring the Matter stack with predictable connectivity.
4
Install and Configure the Matter Stack: A Practical Walkthrough
Where planning becomes power: commissioning a Matter stack with precision and confidence.
This is where plans become working kit. Follow a stepwise approach that keeps complexity low and gives you predictable recovery options.
Pre‑install checklist
Before you touch installers, complete these steps so you can recover quickly if something goes wrong:
Ensure firmware is up to date for the hub hardware and any border routers (e.g., HomePod mini, Nest Hub, or a Nordic nRF52840 OTBR dongle).
Confirm network readiness: wired hub IP, VLAN/SSID isolation, and good Wi‑Fi/Thread signal where devices will live.
Install: guided installer vs. open‑source image
Choose the path that matches your comfort level.
Vendor app / guided installer (Google Home, Apple Home, or SmartThings): follow the app step‑by‑step—this is lowest friction and often includes device discovery and auto‑updates.
Open‑source (Home Assistant, OTBR): grab the project’s recommended image (Home Assistant OS for Raspberry Pi 4 / Home Assistant Yellow; OTBR image for nRF52840), flash with Balena Etcher, and follow the project docs for the “easy” installer.
Example: many users find Home Assistant OS on a Raspberry Pi 4 + nRF52840 USB gives DIY control, while HomePod mini + Google Home gives plug‑and‑play simplicity.
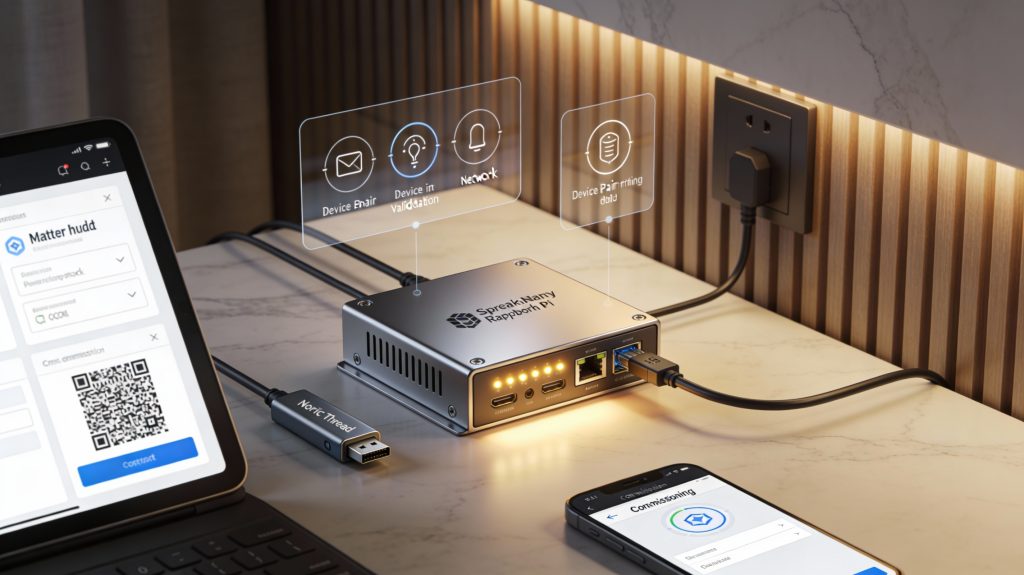
Commission devices one class at a time
Add similar devices in groups to limit variables.
Start with lighting (easiest), then sensors, then climate/locks.
Document device model, setup steps, and any PIN/QR used for commissioning.
After adding each device, verify local control (turn on/off from local app) before continuing.
Test pairing, rejoining, integrations, and performance
Practice recovery and validate end‑to‑end behavior.
Test device rejoin: simulate a power cycle and re-pair without full factory reset.
Verify core integrations: mobile app control, voice assistant commands, and your automation engine.
Run quick checks: command latency (aim <200–500 ms where possible), accurate state reporting, and successful reconnection after a simulated network outage.
Logging and a short troubleshooting checklist
Keep logs and a 1‑page checklist for common failures.
Enable pairing/debug logs, timestamp entries, and store periodic configuration snapshots.
Troubleshooting steps: power cycle hub → check IP/DHCP → confirm Thread/Wi‑Fi signal → attempt rejoin → factory reset as last resort.
With devices commissioned and basic recovery tested, you’ll be ready to harden and monitor the hub for long‑term reliability in the next section on securing, monitoring, and optimizing your Matter setup.
5
Secure, Monitor, and Optimize Your Hub for Long‑Term Reliability
True smart-home luxury is invisible security, constant awareness, and zero surprises.
Lock down access and minimize attack surface
Start with simple, high‑impact steps you can do today.
Use unique, strong admin passwords and enable 2‑factor authentication (2FA) for your hub account and any cloud accounts. Consider a hardware 2FA key (YubiKey) for extra protection.
Enable automatic updates where supported (Home Assistant OS, HomePod, vendor hubs). For DIY stacks on Raspberry Pi 4 or Home Assistant Yellow, schedule OS and add‑on updates during low‑use hours.
Minimize exposed services: turn off UPnP, avoid port forwarding to the hub, and only publish what you absolutely need through secure tunnels (e.g., Home Assistant Cloud or a VPN).
Protect device credentials and backups
Credentials are the keys to your home—treat them as such.
Store service passwords and pairing codes in a password manager (Bitwarden, 1Password). For advanced users, keep master keys in an offline encrypted USB or a hardware token.
Encrypt backups using tools like Restic or built‑in Home Assistant snapshots with a strong passphrase (AES‑256). Keep at least one encrypted copy offline and one in a secure cloud vault (e.g., a provider that supports server‑side encryption and key management).
Label and inventory backup versions so you can quickly select a known good snapshot during recovery.
Establish monitoring, metrics, and alerts
Make your hub observable so problems are visible before they become outages.
Track these core metrics: uptime, average command latency, device drop‑out rate, and firmware update status.
Use lightweight tools: Home Assistant System Health + built‑in notifications, Uptime Kuma for service checks, or Prometheus + Grafana if you want dashboards and historical trends.
Set actionable thresholds and automate notifications (mobile push, SMS, or email):
Alert when a device is offline for >15 minutes.
Alert when average command latency exceeds 1 second for 10 minutes.
Alert on repeated firmware update failures or high error rates.
Validate backups and rehearse recovery
A backup is only as good as your ability to restore it.
Quarterly, perform a staged restore to a spare Raspberry Pi, VM, or Home Assistant test instance to verify snapshots and credentials.
Document the restore steps and time-to-recover target. Track restore time during drills to ensure your SLA (even a personal one) meets expectations.
Optimize based on data
Use logs and metrics to focus effort where it matters.
Trim unused integrations and archive stale devices—each integration increases attack surface and processing overhead.
Schedule non‑critical firmware and OS updates during off‑peak hours to reduce disruption.
Prioritize fixes that show up in your metrics: a device with repeated dropouts or >1s latency should be replaced or moved, not just rebooted.
These practices make your Matter hub resilient and maintainable, and they set the stage for practical maintenance, troubleshooting, and scaling strategies in the next section.
6
Maintain, Troubleshoot, and Scale Without Getting Overwhelmed
Smart homes scale best when complexity is managed with quiet discipline.
A simple maintenance cadence you’ll actually follow
Make a schedule that fits your life and treat it like routine home upkeep.
Monthly: check update status, disk and memory usage (df -h, htop or Home Assistant System Health), and scan recent logs for repeating errors (journalctl or Home Assistant logs).
Quarterly: audit firmware on devices (lights, locks, hubs) and apply vetted updates; note any failed updates for follow‑up.
Annual: capacity and architecture review — count devices, review latency trends, and decide if you need more CPU, RAM, or an additional hub.
On a Raspberry Pi 4 (4GB), monthly checks will often reveal SD card wear or rising swap usage — early warning signs that it’s time to migrate to an SSD or NUC before failures occur.
Keep a one‑page troubleshooting cheat sheet
Reduce panic by codifying common fixes on a single page you can reference quickly.
Symptom: device offline → Quick checks: power, LED status, hub reachability. Fix: power‑cycle device, move within 2m, re‑pair.
Symptom: pairing failures → Quick checks: firmware version, active Bluetooth/Wi‑Fi interference. Fix: factory reset device, try alternate coordinator (ConBee II, HUSBZB‑1), then re‑pair.
Symptom: high latency → Quick checks: CPU load, Wi‑Fi channel congestion. Fix: reduce automations, add wired backhaul or upgrade hub CPU (Intel NUC or Home Assistant Yellow).
Document the exact commands, reset steps, and re‑pair sequence that worked for you.
Scale incrementally and use change control
Add devices deliberately to avoid surprises.
Add in batches (start with 5–10 devices), monitor command latency and dropout rate for 24–72 hours, then continue.
Use a change log: date, devices added, firmware versions, observed impact, rollback plan.
Know your scaling levers: more CPU/RAM, SSD over SD card, additional hubs for load‑balancing, or dedicated bridges for legacy radios.
Use community and vendor resources efficiently
You don’t have to solve every oddball problem alone.
Bookmark vendor support pages, GitHub issues, and helpful forum threads (Home Assistant, Matter GitHub).
Keep a searchable repository (Notion, Obsidian) of fixes, config snippets, and useful commands so you don’t repeat work.
With a lightweight maintenance plan, a one‑page troubleshooting guide, and measured scaling — all rooted in knowing how to set up a Matter hub — you keep complexity low and performance predictable; because truly understanding how to set up a Matter hub means you can move on to wrapping up with practical next steps confidently.
Start Small, Measure, and Improve
You can build a reliable Matter hub without a tech degree by starting with a small, well-defined pilot: choose modest hardware, limit device types, and document your baseline configurations and success metrics. Run it long enough to collect meaningful data on uptime, latency, and failure modes, then use those measurements to prioritize fixes — firmware updates, network tweaks, or security hardening — rather than chasing every feature at once. Keep changes incremental and reversible so you can clearly attribute any impact to a specific action.
When your pilot meets your reliability and security thresholds, expand deliberately — add devices, increase automation, and refine monitoring. Maintain simple runbooks, scheduled audits, and a change log so troubleshooting stays manageable. With a data-driven, documented approach you’ll avoid overwhelm and build a future-proof system. Start small, measure outcomes, iterate, and review lessons learned quarterly to keep improvements on track.