Is your morning espresso losing its punch, or has your machine started making unusual straining noises? Your Philips LatteGo Smart is a masterpiece of convenience, but mineral buildup—specifically calcium and magnesium—is the silent enemy of consistent flavor and machine longevity. To prevent sluggish flow, lukewarm coffee, and costly internal damage, mastering the descaling process is essential. This comprehensive guide provides a data-driven approach to maintenance, ensuring your “Home Luxury” investment continues to deliver barista-quality crema and perfect milk texture for years to come.
In this deep dive, we break down the science of scale and provide a structured, step-by-step descaling routine tailored specifically for the LatteGo 3200, 4300, and 5400 series. You’ll learn how to interpret automated sensor alerts, choose between official Philips solutions and vetted alternatives like citric acid, and implement a maintenance schedule based on your local water hardness. Don’t wait for a “Calc Clean” warning to compromise your brew; follow our expert tips to optimize thermal efficiency and protect your machine’s sensitive internal components today.
Why proper descaling matters for your Philips LatteGo Smart
You rely on your Philips LatteGo Smart for consistent espresso, milk texture and efficiency. Mineral scale—primarily calcium and magnesium—builds inside boilers, pipes and sensors, degrading taste, reducing flow, increasing energy use and raising failure risk.
This guide shows you a structured, data-driven descaling routine tailored to your machine. You’ll learn what tools and descalers are appropriate, how long each step takes, and how to protect sensitive parts during the process. Follow the official method and vetted alternatives, plus safety and record-keeping tips so you can keep performance, flavor and lifespan optimal with predictable, repeatable maintenance.
Start here and save years.
1
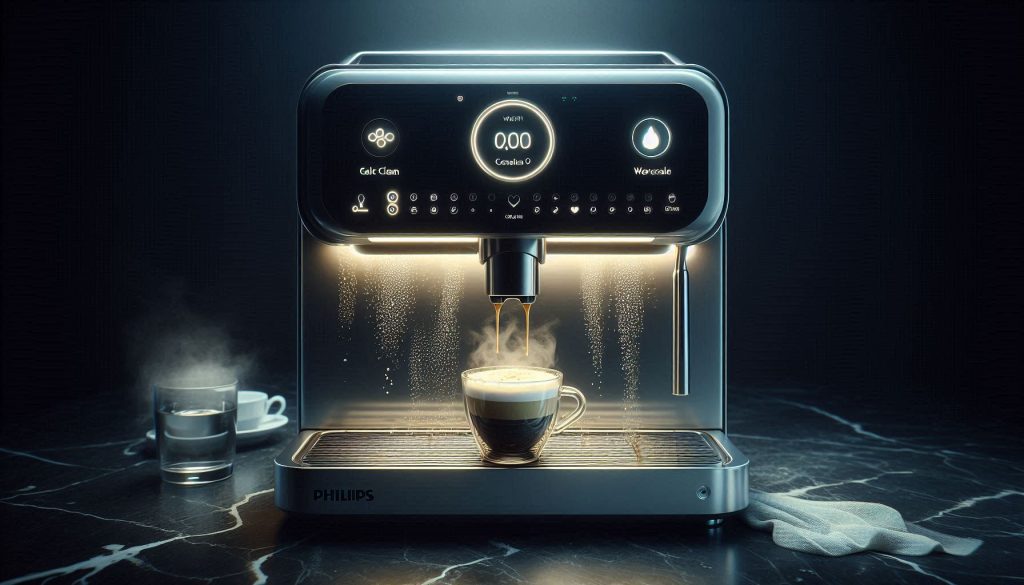
The science and consequences of scale buildup in espresso machines
An elegant visual representation of how mineral scale impacts espresso machine performance and longevity.
What scale is and where it forms
Scale is a hard, crystalline deposit made largely of calcium and magnesium carbonates that precipitate out of hot water. In your LatteGo Smart it accumulates on boilers, heating elements, internal pipes, and around flow sensors and valves — anywhere hot water slows down, cools, or evaporates. Over weeks and months microscopic crystals adhere to metal and plastic surfaces, starting as a thin film and growing into insulating layers and flakes.
How scale degrades performance (measurable impacts)
Scale directly reduces thermal and hydraulic efficiency in ways you can observe:
Reduced heat-transfer efficiency: even a thin mineral film increases thermal resistance, so water takes longer to reach target temperature.
Longer extraction times and altered pressure: blocked or partially restricted pipes and sensors change flow characteristics; shots pull slower and crema quality suffers.
Increased energy consumption: the heater runs longer or at higher duty cycles to compensate for lost heat transfer.
Sensor and pump strain: restricted flow forces pumps to work harder and can trigger error codes or premature wear on electronics.
Taste changes: higher extraction variability creates bitterness or inconsistency in aroma and body.
In practical terms you’ll notice slower warm-up, longer brew cycles, intermittent flow drops, and higher electricity draw — all progressive and measurable if you track brew time, shot volume, or power usage.
Factors that accelerate scale buildup
Scale accumulation rate depends on:
Water hardness (measured in ppm CaCO3 or dH). Hard water (commonly >180 ppm or >10°dH) deposits far more quickly.
Daily volume: more cycles = more mineral precipitation.
A real-world example: if you use municipal hard water and brew multiple shots a day, thin mineral films can form within weeks; with softened or filtered water the same timeframe extends to months.
Quick actionable tips
Check your water hardness setting and match it to local test strip results.
Use filtered or bottled water when feasible.
Monitor shot time and machine warm-up; increases are early warning signs you can act on before problems escalate.
2
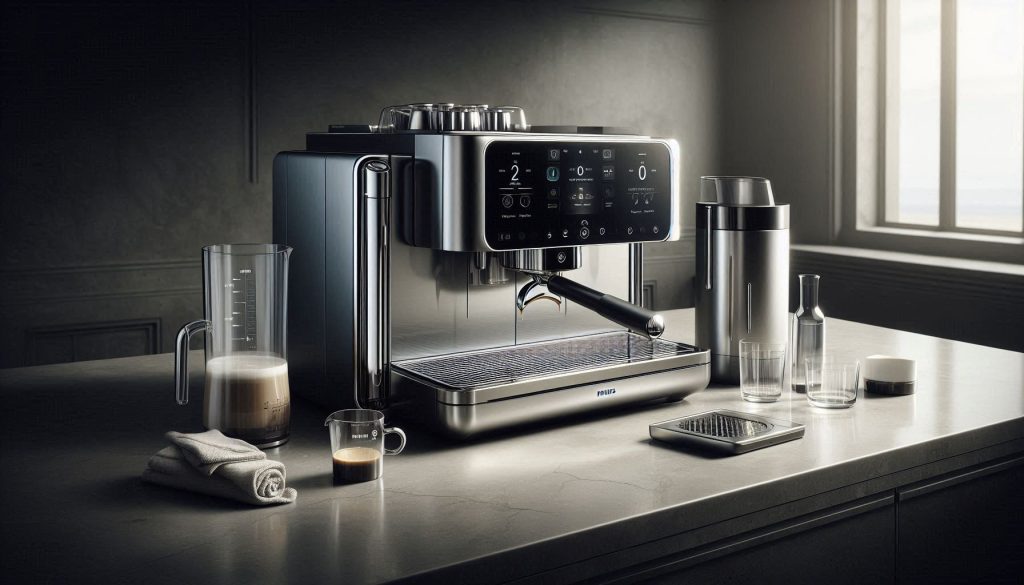
Recognizing the signs your LatteGo Smart needs descaling
Visual cues that signal when descaling is required to protect performance and flavor.
Automated alerts and display messages
Your Philips LatteGo Smart is designed to warn you. Look for:
A clear “Descale” or “Calc clean” message on the display.
A flashing kettle/scale or water-drop icon, or an illuminated “Clean/Calc” LED.
Combinations of lights (e.g., water-tank + calc icon) that indicate maintenance is due.
On Philips LatteGo models (such as many machines in the 3200/4300 families) these are standard alerts — when they appear, treat them as a priority rather than an optional reminder.
Taste, time and sound: manual signs you can detect
You should also trust your senses. Common manual indicators include:
Slower brew time: shots that used to take 25–30 seconds now pull significantly longer.
Weaker extraction or thin crema: the coffee tastes under-extracted, sour, or flat.
Off-flavors or mineral notes: metallic or soapy hints that weren’t there before.
Abnormal pump noises: loud clattering, gurgling, or a strained-sounding pump during brewing or steaming.
If your shot time increases by 10–20% or you hear new noises, don’t ignore them — they often signal restricted flow or stressed components.
Visible deposits and steam problems
Inspect removable parts regularly:
White, chalky deposits on the brew group, water tank, or LatteGo milk system indicate scale.
Persistent steam failure or low steam pressure: steam wand or milk system that takes much longer to produce steam, or produces only weak steam.
A quick visual check after rinsing the milk system can reveal early deposits that justify immediate action.
Correlating symptoms with usage and water hardness
Prioritize descaling based on how you use the machine and local water hardness:
High daily volume (multiple drinks per day) + hard water = faster action (weeks).
Occasional use + soft/filtered water = slower buildup (months).
Use water hardness test strips to quantify risk; if your water is “hard” or above ~180 ppm (≈10°dH), move descaling higher on your priority list. Keep a short log of symptoms and dates — it helps you spot trends and know when to run the official descale routine.
3
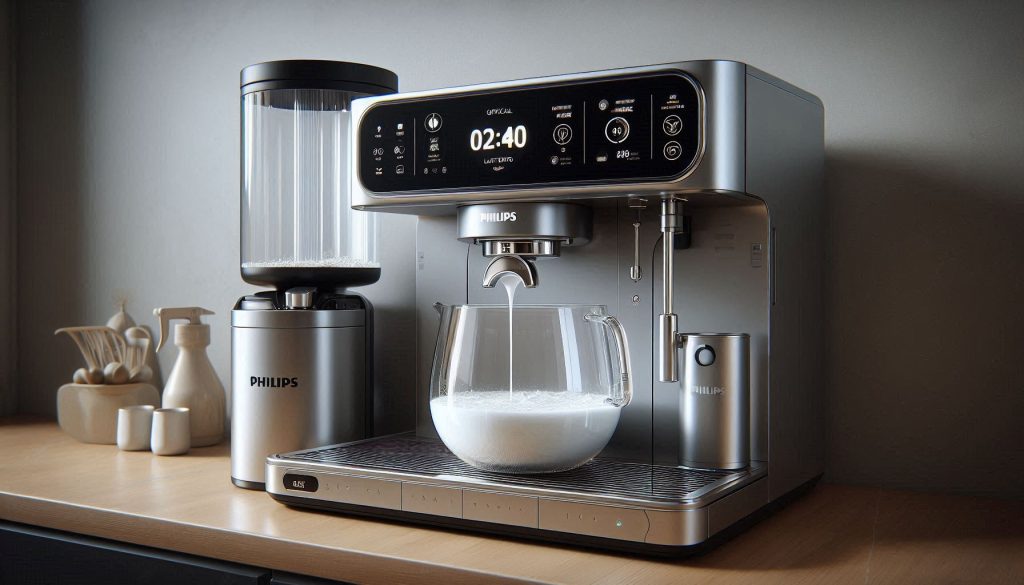
Preparing your Philips LatteGo Smart for a safe and effective descale
A clean, methodical setup ensures a safe and effective descaling process.
Quick pre-descale checklist
Before you start, run through this systematic checklist so the descale goes smoothly and safely:
Consult your user manual for any model-specific notes or firmware nuances (e.g., LatteGo 3200 vs 4300 menus).
Turn the machine off and allow it to cool if it was recently used.
Empty the bean hopper and drip tray; remove used pucks if your model collects them.
Remove and disassemble the LatteGo milk system; rinse and dry each part.
Remove the water tank and have a suitable container (1–2 L) ready to collect wastewater.
Recommended supplies to have on hand
Use the proper materials — they make the difference between effective descaling and damaged components:
Official Philips descaling solution (preferred; formulated for internal seals and heaters).
Approved citric acid descaler (food‑grade citric acid is an accepted alternative; follow concentration guidance).
Measuring cup or graduated cylinder and a small funnel.
Chemical-resistant gloves and safety glasses.
Fresh potable water for mixing and final rinses.
Setting your machine to descaling mode and water hardness
Different LatteGo Smart models require you to enter a maintenance menu:
Navigate: Settings → Maintenance → Descale (or follow the prompt when the machine displays “Descale”).
If your model uses a water hardness setting, test your water with supplied strips and enter the correct °dH or ppm value — this adjusts the descaling reminder frequency so you don’t under- or over-descalate.
Following the menu ensures the machine runs its programmed cycle (pumps, valves, and pauses) so the solution reaches all internal pathways.
Why remove the water filter before descaling
If a filter (e.g., Brita or Philips AquaClean) is installed, remove it before descale:
Filters absorb and neutralize descaling chemicals, preventing the solution from reaching scale deposits.
Chemical exposure shortens filter life and can cause clogging or swelling.
Removing it protects both the filter and the machine’s internal flow paths.
Practical tip: label the water filter with the date removed so you remember to reinstall or replace it after rinsing. This small habit saves confusion and ensures full protection of your machine going forward.
4
Step-by-step descaling procedure for your LatteGo Smart (official method)
Running the official Philips descaling program ensures safe removal of internal scale.
Follow this clear, sequential routine to run the official Philips descaling cycle. Stick to the Philips descaler and the machine prompts for best results and to protect internal seals.
Step 1 — Prepare and add descaling solution
Put on gloves and ensure good ventilation.
Remove the water tank and empty any remaining water.
Pour the correct amount of Philips descaling solution into the tank according to the product label and your model’s manual; then fill the tank with fresh potable water up to the indicated level (many models use the tank’s max line).
Replace the tank and place a 1–2 L container under the coffee spout (and under the steam/hot water outlet if your model has a separate outlet).
Step 2 — Open the steam/hot water outlet (if required)
If your LatteGo Smart has a steam/hot water knob, open it so the descaler can flow through the hot water circuit.
For LatteGo models that route both coffee and milk circuits, detach the LatteGo milk module and leave the milk spout open to allow flushing.
Step 3 — Initiate the descaling program
Enter: Menu → Settings → Maintenance → Descale (or follow the machine’s on-screen “Descale” prompt).
Confirm and press start; the machine will automatically run its programmed pump/valve sequence. Follow on-screen prompts (some models will tell you when to open/close outlets or empty the container).
Expected timing and soak periods
Active descaling cycle: expect about 20–30 minutes of pump activity and automated flushing.
Soak/pause: the program will usually pause to allow the solution to work on scale — typically 10–15 minutes.
Total time: plan for 30–60 minutes depending on model and scale severity.
Rinse cycles — remove residual descaler
After the program completes, discard the collected liquid and rinse the tank thoroughly.
Refill the tank with fresh water and run the rinse program or repeat the descaling program’s rinse step.
Recommended: perform at least two full rinse cycles; three rounds are ideal if you use strong solution or have sensitive taste.
Ensure no chemical smell or taste remains before reattaching milk parts.
Reassemble and test
Reassemble the LatteGo milk system and any removed parts; rinse them well.
Confirm the descaling indicator on the display has reset.
Run a short hot-water flush and then brew a single espresso (or hot water) to verify normal flow, temperature, and taste.
If flow feels restricted or the indicator doesn’t reset, stop and consult the troubleshooting section in your manual — it may need a repeat cycle or professional service.
5
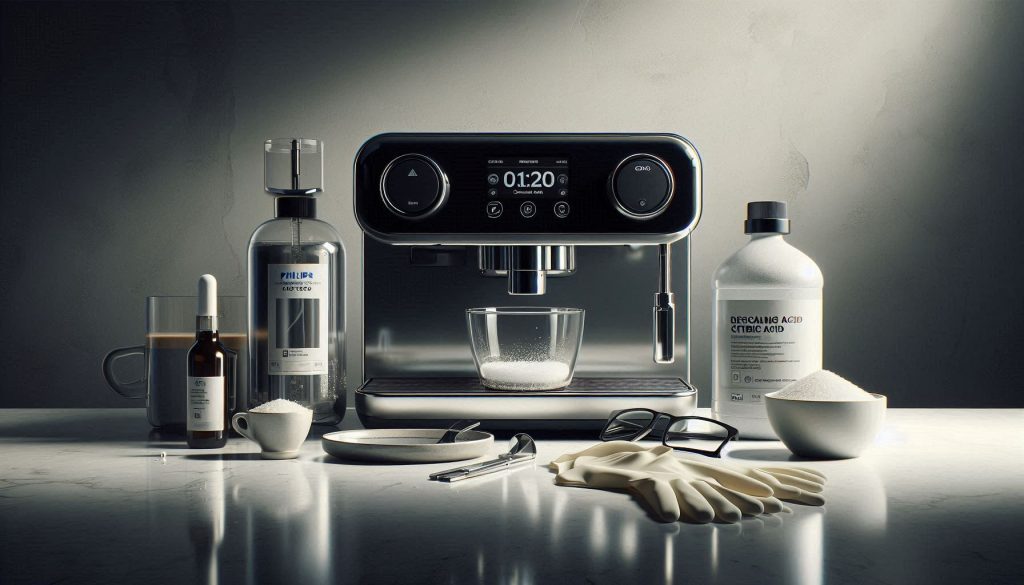
Safety, troubleshooting and acceptable alternative descaling options
Safe descaling practices and approved alternatives protect both your machine and your home.
Essential safety precautions
Follow these hard rules every time you descale to protect yourself and your machine:
Never mix different descaling chemicals — reactions can produce hazardous fumes or reduce effectiveness.
Work in a well‑ventilated area and avoid breathing vapors.
Wear chemical‑resistant gloves (nitrile preferred) and eye protection; avoid skin or eye contact.
If contact occurs, flush with plenty of water and seek medical advice for persistent irritation.
Keep descalers away from children, pets and food prep areas; store originals in labelled containers.
A quick real‑world note: a neighbour once mixed vinegar with a commercial descaler and created noxious fumes — the job became an emergency window‑opening event. Don’t improvise.
Troubleshooting common descaling issues
If something goes wrong, try these targeted fixes before calling support:
Descale alert persists after a completed cycle:
Run two additional full rinse cycles.
Power‑cycle the machine, then check Menu → Settings → Maintenance to confirm the alert reset.
If the prompt still appears, update firmware (if available) or contact Philips support.
Leaks during descaling:
Stop the cycle and unplug the machine.
Inspect water tank seating, drip tray, LatteGo module, and any visible O‑rings for misalignment or damage.
Reseat components, replace brittle seals, then retry with a shallow run of water first.
Poor flow after descaling:
Run 2–3 extra hot‑water flushes to remove loosened debris.
Clean the coffee outlet and brew‑group paths; residual grind compacting can mimic scale blockage.
If low flow persists, the pump or internal valves may need service.
Acceptable alternative descalers — concentrations and trade‑offs
Two common alternatives are citric acid and commercial neutral descalers:
Citric acid (food grade):
Typical mix: 15–30 g per liter of water (start at 15 g/L for routine maintenance).
Pros: low cost, biodegradable, pleasant smell.
Cons: less aggressive on heavy scale, can leave a sour residue if not rinsed thoroughly.
Follow the manufacturer’s dilution instructions — these are formulated for espresso machines and often work faster on hard scale.
Pros: effective, formulated to minimize residues and corrosion.
Cons: higher cost; always check compatibility.
Avoid vinegar/acetic acid — it can leave odors, generate vapours and may damage some components. Crucially, using non‑OEM chemicals can affect warranty in some regions; always consult Philips guidance for your model before using alternative descalers and keep receipts if you deviate from Philips‑recommended products.
6
Creating a maintenance plan: frequency, record-keeping and longevity tips
A simple, consistent maintenance plan extends the life and performance of your LatteGo Smart.
Descaling frequency: a practical schedule
Match descaling to both your water hardness and daily coffee volume. Use this starting guide and tweak based on machine alerts and taste:
Soft water (<60 ppm): 1–2 cups/day → every 4–6 months
Moderate water (60–120 ppm): 3–8 cups/day → every 2–3 months
Hard water (120–180 ppm): 5–12 cups/day → every 4–6 weeks
Very hard (>180 ppm) or heavy commercial use: daily barista volumes → every 2–4 weeks
Example: a household of two using hard tap water and brewing 8 cups/day should plan a monthly descale. If you use a Philips AquaClean filter (e.g., CA6903/00) and change it per instructions, you can often extend intervals — track actual results and adjust.
How to measure or estimate water hardness
Quick options you can use today:
Test strips (LaMotte, AquaChek) — cheap and fast.
Home water test kits — give ppm or °dH readings.
Ask your municipal water supplier or check their annual water quality report online.
Simple proxy: if you see white scale rings in kettles or on faucets, you likely have hard water.
If tests show borderline values, err on the side of more frequent descales until you gather real usage data.
Daily and weekly routines that cut scale formation
Daily:
Rinse the LatteGo milk system after every use; wipe and let air‑dry.
Empty and dry the drip tray and coffee grounds container.
Run a short hot‑water flush through the coffee spout after the last drink.
Use filtered water (Brita Maxtra or Philips AquaClean) when possible.
Weekly:
Remove and deep rinse the LatteGo cups and milk parts; clean the brew group if accessible.
Check seals and visible tubing for residue or wear.
Replace single‑use water filters or check filter indicators per product guidance.
Keep a simple maintenance log
Record entries in a small notebook, spreadsheet, or phone note. Fields to track:
Date
Action (clean, descale, filter change)
Descaler used and dilution
Water hardness reading or source
Observations (flow, taste, leaks)
Next suggested date
A pattern of more frequent descaling or recurring issues flags the need for professional inspection.
Tips to extend machine life
Use genuine Philips consumables when possible.
Avoid vinegar; it can leave residues and damage parts.
If performance problems persist after proper maintenance, seek authorized service rather than DIY repairs.
With this maintenance plan you’ll reduce surprises and maximize lifespan — next, we’ll wrap up with a concise set of next steps to keep your LatteGo Smart performing.
Summary and next steps for keeping your LatteGo Smart performing
Recognize symptoms, prepare the machine, and run the official descaling cycle using recommended descaler to protect performance and warranty. Follow safety guidance, document each event regularly, and note measurable improvements in flow, taste, and pressure to validate results.
Adopt a maintenance schedule based on your water hardness and usage, record dates and observations, and prefer Philips‑approved descalers for consistent results and warranty compliance. Schedule your next descale and monitor metrics.