
Maintaining a high-end smart coffee machine requires more than just a quick rinse; it demands a data-driven approach to combat the inevitable buildup of limescale. Mineral deposits like calcium and magnesium act as insulators on heating elements, narrowing internal valves and compromising the precision of your machine’s flow sensors and PID controllers. By implementing a systematic descaling routine, you ensure consistent extraction temperatures and protect the sophisticated internal architecture that makes your smart brewer a luxury. This guide provides a technical walkthrough for descaling—covering everything from interpreting app-based telemetry and diagnostic codes to choosing the right chemical solutions for boilers and thermoblocks—ensuring your machine delivers peak performance and reliable flavor profiles every morning.
Beyond simple cleaning, proactive maintenance is the key to extending the service life of your investment and upholding warranty coverage. Modern smart machines from brands like Jura, De’Longhi, and Breville offer advanced maintenance logs and filtration alerts that, when used correctly, can significantly reduce the frequency of heavy descaling cycles. In the following sections, we will break down how to measure water hardness, validate your results with post-descale diagnostics, and optimize your water source to prevent scale before it starts. Whether you are troubleshooting a “flow restricted” error or simply performing a scheduled tune-up, these evidence-based steps will return your machine to factory-spec efficiency and keep your coffee tasting exactly as the roaster intended.
Why Regular Descaling Matters for Your Smart Coffee Machine
Descale Your Smart Coffee Machine
If you want consistent flavor, temperature and uptime from your coffee machine? Mineral buildup (limescale) compromises heating elements, narrows valves, alters flow rates and degrades sensor accuracy, so your machine works harder and delivers variable results. Timely descaling preserves performance, reduces energy use, and extends service life.
This guide gives a practical, data-driven descaling routine that works whether you use manual controls or an app-driven descaling mode. You’ll get clear actions, evidence-based intervals, and simple checks to validate results so your machine returns to optimal extraction, consistent temperature stability, and predictable maintenance windows.
Follow these steps to protect warranty coverage, reduce repair visits, and enjoy reliably excellent coffee daily every morning.
Understanding Scale: What It Is and How It Affects Performance
How scale forms inside your machine
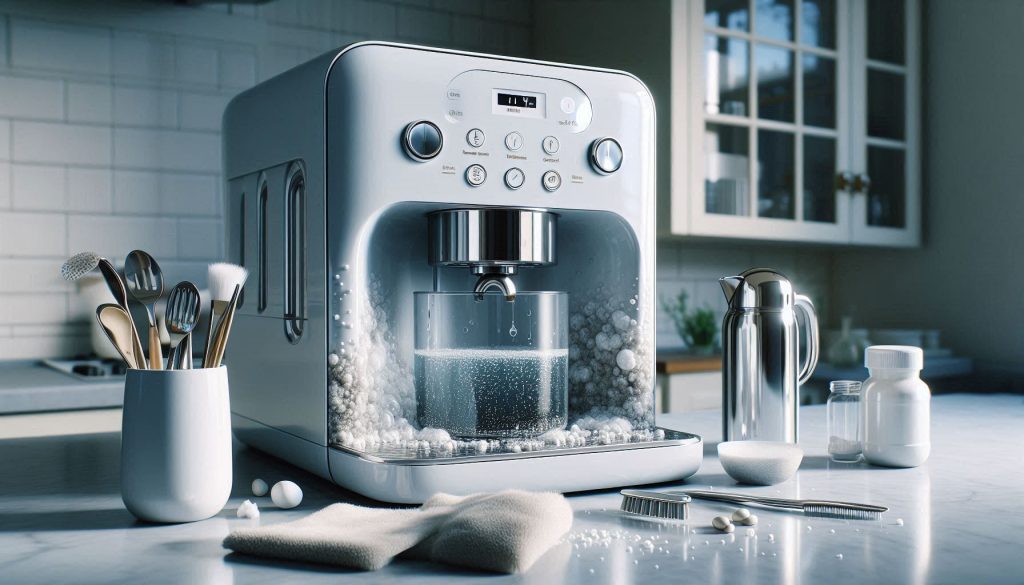
Scale is simply mineral salt—primarily calcium and magnesium—dissolved in your water. When that hard water is heated and pressurized inside boilers, heat-exchange channels or narrow tubing, those minerals precipitate out and bond to metal surfaces. In practical terms: every heat cycle deposits a microscopic layer; over months those layers become visible white crusts, flakes, or brittle plates that flake off unpredictably.
Measurable performance effects you’ll care about
Watch for these concrete, testable symptoms—each maps directly to mineral buildup:
A quick field test: time the interval from power-on to “ready,” monitor a shot temperature (if your machine reports it), and check flow rate. Significant deviation from factory specs is often scale-related.
Why machine architecture changes where scale builds
Different heating designs trap scale in different places—inspect accordingly:
Quick inspection priorities you can apply now
These checks tell you where to focus your descaling efforts for the most impact.
How to Tell When Your Machine Needs Descaling
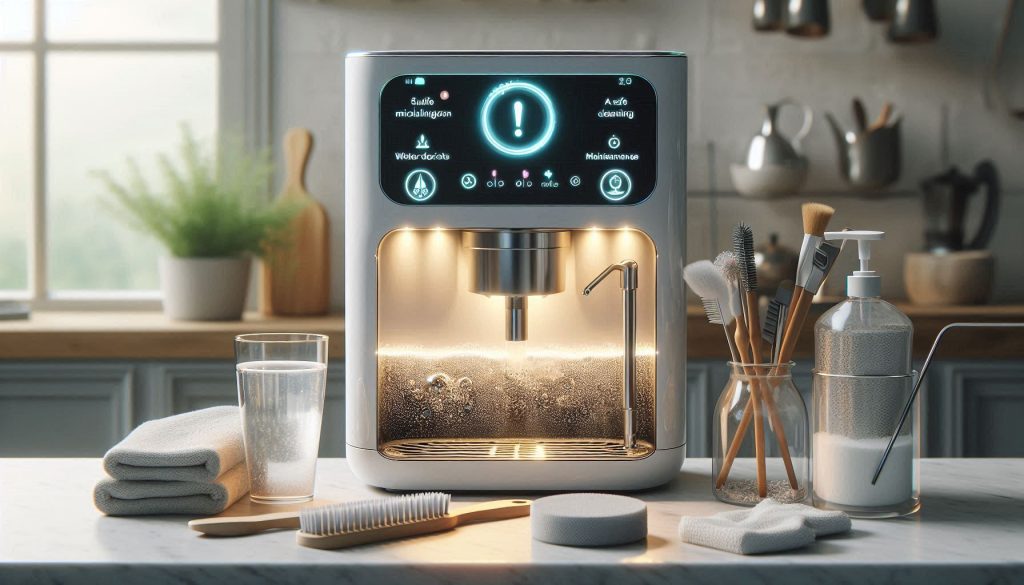
Objective alerts and diagnostic codes
Your smart machine will often tell you first. Look for explicit app notifications or front‑panel messages like “Descale,” “Calc,” or a dedicated maintenance alert. Brand examples: Jura and De’Longhi super‑autos put a clear descaling message in the app; Nespresso often uses a flashing light pattern. If you see a numerical or letter code, check the manual or app help — it usually maps directly to a scale/water circuit warning.
Measurable performance signs to test
Use simple, repeatable checks to confirm scale-related decline:
A quick field check: compare current measurements against the machine’s factory specs or a recent baseline you recorded.
Sensory clues (taste and residue)
Taste is a reliable alert: coffee that tastes flat, chalky, metallic, or unusually astringent often signals mineral contamination or temperature drift from scale. Visually inspect portafilter, shower screen, drip tray, and grounds for white flakes or powdery residue. Weak crema or sputtering steam wand performance are additional sensory red flags.
Use a water hardness test and interpret results
Buy a simple strip test (two‑pack) and test the tap where you fill the machine. Read the color chart and note ppm (mg/L CaCO3) or °dH if provided. Rough guideline:
Always cross‑check with your machine manual; manufacturers may recommend intervals based on liters or cycles.
Read your machine’s telemetry or maintenance log
If your machine logs cumulative brew cycles, liters dispensed, or flow volume, use those metrics. Many OEM algorithms trigger descaling by volume (e.g., after X liters). Export or view the log in the app and compare last descaling date to liters used — if your machine lacks automatic prompts but shows high cumulative volume, it’s time to descale.
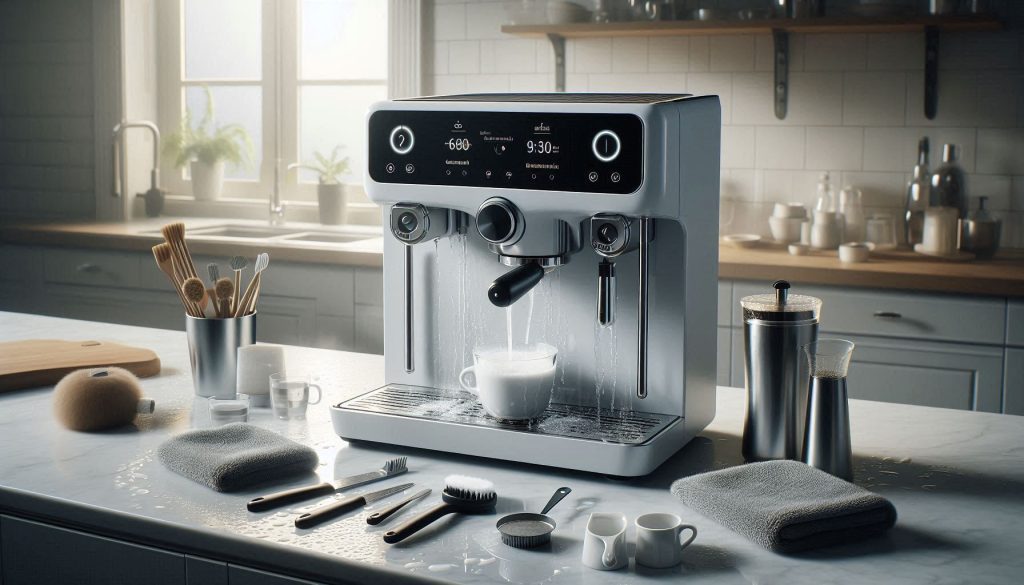
Preparing to Descale: Choosing Solutions and Gathering Tools
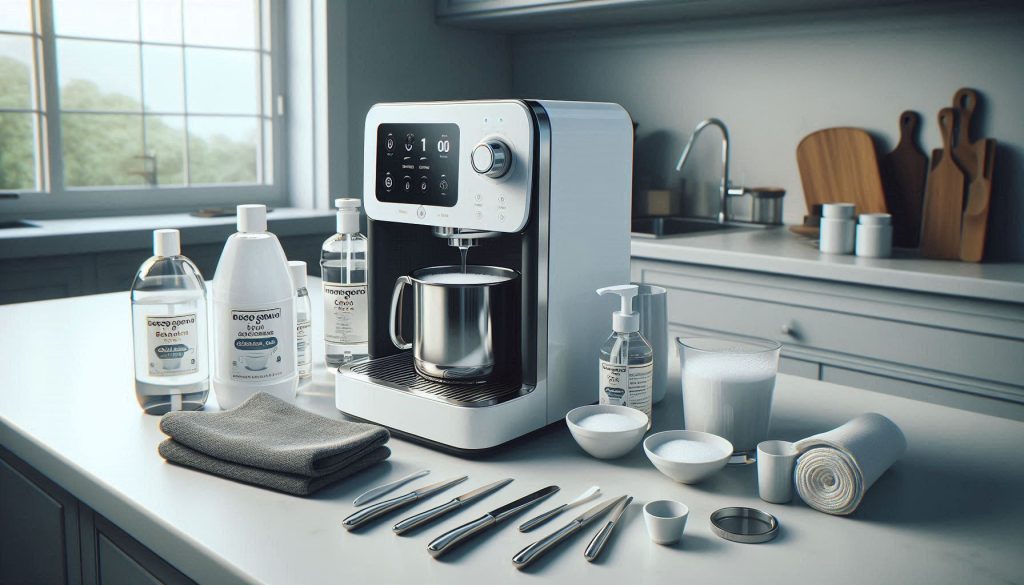
Pick the right descaler: manufacturer vs. home alternatives
Start with your machine manual. If the manufacturer names a product (De’Longhi EcoDecalk, Urnex Dezcal, Durgol Swiss Espresso), using it both simplifies dilution and avoids warranty disputes. Food‑grade citric acid (sour salt) is a widely accepted alternative: it’s effective, biodegradable and less odorous than vinegar. Household white vinegar (5% acetic acid) can work for small, non‑pressurized home units but may leave residues, unsettle seals, or trigger sensor drift in sensitive smart machines—use only if the manual permits.
Quick product notes:
Measure correct dilutions and volumes
Follow the label. If a manufacturer says “1:10,” that means 1 part concentrate + 9 parts water. Use this formula:
required concentrate = (target total solution volume) × (concentrate fraction)
Example: for 1.5 L total at 1:10 → concentrate = 1.5 × 0.1 = 150 mL.
If you don’t know circuit volume, use the machine’s reservoir + boiler capacity from specs or run a full descaling program once and note liters used in the app/flow log.
Assess compatibility with seals and sensors
Check your manual for banned chemicals and materials lists (EPDM, Viton compatibility). Avoid strong acids (hydrochloric, sulfuric) and harsh chlorinated cleaners unless explicitly approved. If unsure, contact support and save the response.
Tools and supplies checklist
A friend once avoided a 2‑hour service call by having the correct tubing and the OEM descaler on hand—planning saves time. Next, you’ll use these preparations to run a safe, step‑by‑step descaling cycle tailored to your model.
Step-by-Step Descaling Procedure for Smart Machines
Backup settings and note calibration baselines
Before you touch the circuit, save your user profiles and note calibration values in the app (brew temperature, pre‑infusion time, pump pressure/pressure curve, flow per shot). If your app supports export or cloud sync (Jura Smart Connect, De’Longhi Coffee Link), perform an export. Record one or two baseline diagnostics: steady‑state pump pressure at extraction, flow rate for a 30 mL shot, and any error codes—this lets you confirm the descaling improved performance rather than masked a hardware fault.
Activate descaling mode
Follow the manufacturer sequence or app command to enter descaling mode (e.g., Jura “Maintenance → Descale”, Saeco “Settings → Descaling”). This disengages heating or auto‑steam cycles and routes liquid as intended. If your model lacks an app, use onboard controls—don’t improvise; manual override can damage valves or sensors.
Run descaler cycles: flow rates, dwell times, and pauses
Prepare the recommended solution and run full cycles at controlled flow:
Intermittent pauses help: run for 2–4 minutes, stop and wait 10 minutes, then resume. This cyclical approach increases contact time and reduces pump strain.
Monitor sensors and telemetry during the process
Watch flow meters, pump current, pressure readouts and temperature. A rising pump current + falling flow usually signals heavy blockage—stop and repeat a soak. Conductivity or TDS sensors (if present) will show solution concentration changes; expect higher conductivity during active descaling, then a decline after rinses.
Handle pump‑heavy vs low‑pressure systems
Safety checks
Wear nitrile gloves and goggles, ventilate the area, empty drip trays, and route waste to a basin. Never heat descaler above recommended temps, and stop if you smell burning, see leaks, or detect unusual noises.
Validating Results: Post-Descale Rinses, Calibration and Diagnostics
After descaling, you must verify the machine is restored to specification. The checks below are systematic, measurable, and practical—so you don’t miss residual chemicals, sensor drift, or performance regressions.
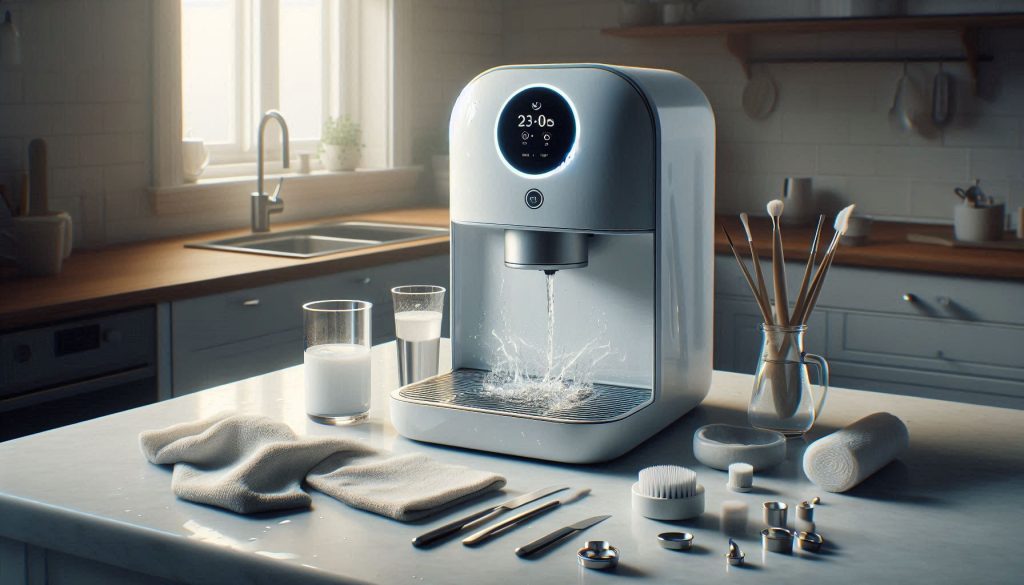
Systematic rinses and flushing residual chemicals
Flush until both sensory and instrument readings indicate “clean.”
Run diagnostic cycles against baselines
Compare live telemetry to the baselines you saved before descaling.
If your smart app (Jura, De’Longhi, Breville Smart) shows graphs, look for smooth traces—not flatlines, spikes, or intermittent dropouts.
Recalibrating sensors and interpreting logs
When values drift, recalibrate what the machine permits.
Use logs to spot trends: slowly rising temps, repetitive pressure spikes, or error code clusters hint at unresolved scale or failing components.
Taste and microbiological safety checks
Simple checks protect flavor and safety.
When to repeat or escalate
Repeat a descaling cycle if pressure/flow haven’t recovered or chemical taste persists. Escalate to service when error codes continue, pump current stays high, leaks are present, or sensor recalibration cannot restore baselines—these signal hardware repair rather than another chemical pass.
Preventive Maintenance and Optimization to Reduce Descaling Frequency
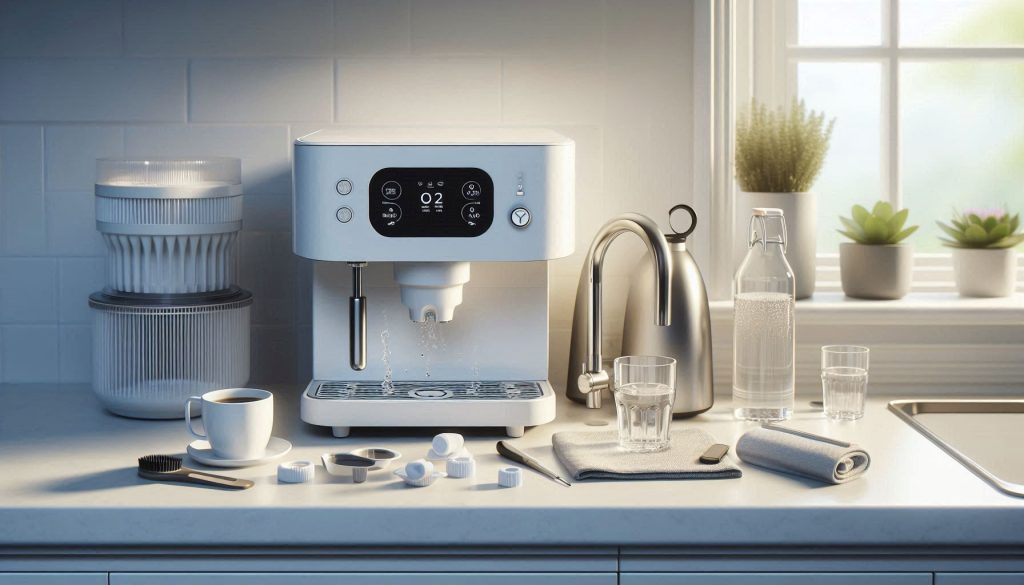
Small, consistent actions cut the need for emergency descales. Below are practical, data-backed strategies you can apply immediately.
Control your water at the source
Measure and manage hardness; aim for lower-than-high settings.
Use practical filtration and softening solutions
Match the solution to your use case.
Automate reminders and track trends
Let data drive timing, not guesswork.
Routine cleaning and software hygiene
Small cleans protect systems and algorithms.
Safe disposal and environmental considerations
Dispose responsibly.
With these preventative steps—water control, filters, data tracking, routine cleaning, and safe disposal—you’ll lengthen the time between descales and reduce downtime. Next, we’ll summarize how to keep your machine reliable and tasting its best.
Keeping Your Smart Coffee Machine Reliable and Tasting Its Best
You now have a practical, data-driven playbook to descale safely, verify recovery with diagnostics, and reduce recurrence through targeted maintenance. Follow the step-by-step procedure, capture telemetry, and log water profile and usage so you can adjust intervals based on evidence rather than guesswork.
Maintain a disciplined schedule, prioritize manufacturers’ recommendations, and use preventive tools like softeners or filtered water. If telemetry shows rising resistance or flow changes, act promptly. Regular, measured care preserves flavor, reduces repairs, and keeps your machine operating at peak efficiency for years with confidence and consistency.
How to Descale a Nespresso Vertuo Next: Fixing the Orange Light