Space-saving smart appliances integrated into a small white kitchen with clean countertops.

Best Space-Saving Tools for Small Kitchens

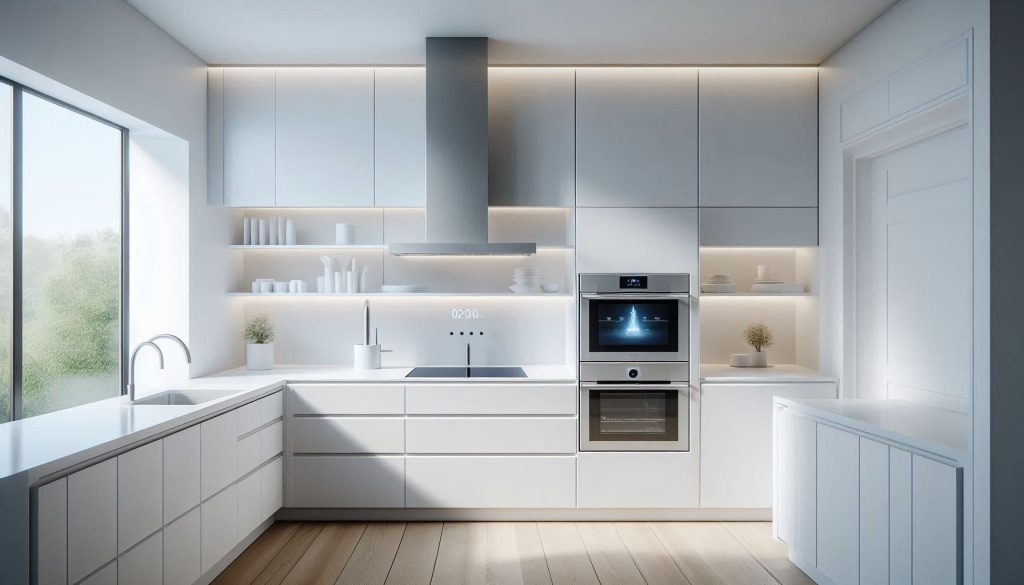
Living in an urban apartment doesn’t mean you have to sacrifice gourmet capabilities. The rise of multi-functional smart appliances has revolutionized small-space living, allowing one device to perform the job of five. Whether you’re looking for a combi-steam oven or a compact induction interface, the right tech can make a tiny kitchen feel like a professional studio.

We’ve curated the best space-saving smart appliances that prioritize a small footprint without compromising on power. Learn how to choose “invisible” integrated tech and stackable smart tools that keep your counters clear and your cooking potential unlimited.

Why space‑saving smart tools matter in a small kitchen

A single compact smart appliance can replace three bulky devices and reclaim up to 40% of your countertop, a real gain in a small kitchen. You need measurable returns: reduced footprint, fewer storage zones, and lower energy draw. You should prioritize tools that give multi‑function performance and reliable automation rather than hype.

Evaluate candidates by five objective metrics: footprint (dimensions), connectivity (protocols and latency), energy use (average and peak), interoperability (open APIs and standards), and expected lifetime (MTBF or warranty). Use measurements you can check: dimensions in cm, wattage, response time, and documented cycles. Make choices based on data, not looks, so your kitchen performs better long term and saves money.

1

Compact smart cooking solutions that replace bulky appliances

Compact smart cooking appliances replacing bulky kitchen tools in a small white kitchen.
Compact smart cooking solutions that replace bulky appliances in small kitchen

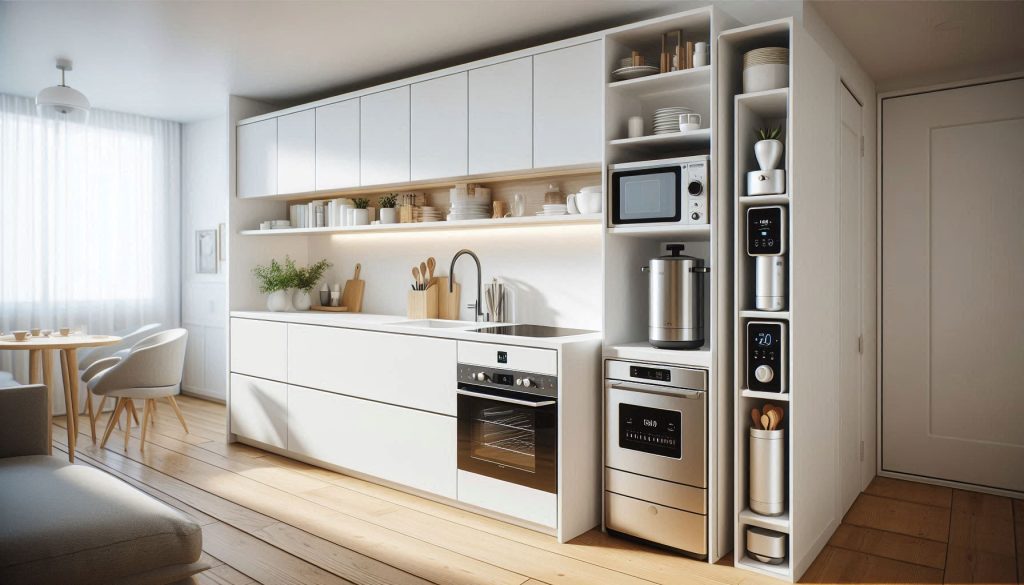
Multi‑function countertop units: do more with less

Choose devices that combine functions: Thermomix TM6 (mix/cook/steam/sous‑vide) and app‑connected multicookers like Instant Pot Smart WiFi turn a range of separate appliances—slow cooker, steamer, chopper—into one footprint. In real apartments you’ll see one Thermomix free up two cabinets and a 12″ counter strip.

Smart sous‑vide and steam combos

Anova/Joule immersion circulators pair with small, stackable steam baskets to replace slow cookers and standalone steamers. These systems are low‑profile and often store vertically. Use them for hands‑off batch cooking and gentle reheating that preserves volume.

Single and modular induction: speed vs. circuit needs

High‑wattage single‑burner induction cooktops (1,800–2,200 W) heat like a stovetop and collapse into a 10–12″ counter square. They’re fast, but:

1,800 W at 120 V ≈ 15 A (continuous use requires a 20 A circuit).
If you expect sustained high power, plan for a dedicated circuit or choose 240 V models.

Modular multiple‑burner induction tiles let you add burners only when needed; pick magnetic stackable designs if counter storage is tight.

What specs to prioritize

Footprint: surface area and build depth measured in cm so you can test fit.
Power draw: nominal wattage and peak surge; check amperage and whether continuous‑use rating requires a 20 A circuit.
Control latency: local UI <1–2 s; app roundtrip <3–10 s for reliable automation.
Safety & compliance: UL/ETL/CE, FCC for wireless, and NSF for food‑contact where relevant.
Firmware & APIs: OTA updates and documented APIs let you automate preheat and routines.

Tradeoffs and practical tips

Multicookers reduce appliance count but can monopolize counter space—store vertically or on a slide‑out shelf.
High‑wattage singles win speed at electrical cost; estimate total simultaneous load before buying.
Keep compact units near a vent or over a heat‑tolerant surface; maintain 2–4″ side/rear clearance and GFCI‑protected outlets.

Next, you’ll see how smart cleaning and dishcare tools reclaim the counter and floor space your compact cookers create.

2

Smart cleaning and dishcare tools that clear counter and floor space

Smart cleaning and dishcare tools saving counter and floor space in a white kitchen.
Smart cleaning and dishcare tools that keep small kitchens open and clutter-free.

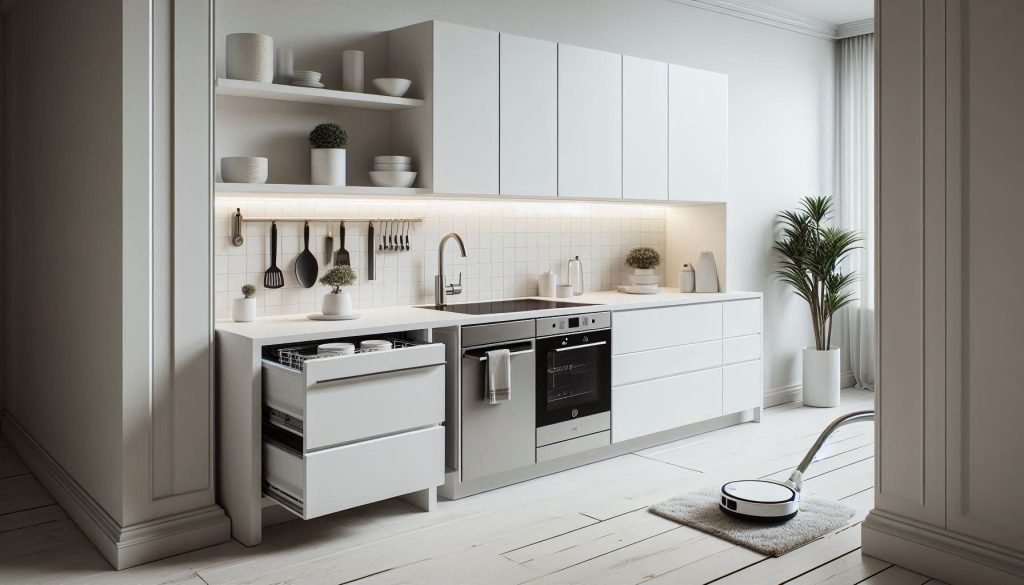
Countertop and drawer‑style dishwashers: what to measure

When you consider a compact dishwasher, measure more than footprint. Record:

internal capacity (place settings or liters), inlet/drain hose length and diameter, and minimum cabinet clearance in cm.
water use (liters/cycle) and energy (kWh/cycle).
noise level in dB (look for <50 dB if your kitchen opens to living space).

Practical examples: countertop units (portable brands and models) typically handle 4–6 place settings and 6–12 L/cycle; drawer‑style units like Fisher & Paykel DishDrawer fit into narrow cabinetry and save vertical storage. Choose a countertop if you rent or lack plumbing access; choose built‑in drawers when you want permanent, quieter integration.

Robot vacuums and mapping mops optimized for kitchens

Pick robots that handle crumbs and sticky spills:

mapping accuracy: SLAM systems with multi‑floor maps and no‑go zones (useful around stools).
obstacle clearance height: check bumper/sensor max (typically 8–25 mm) to clear thresholds.
bin capacity: aim for 400–600 ml for kitchens; mopping reservoirs 200–300 ml.
runtime: 90–180 minutes; look for quick recharge + resume.

Models to consider: iRobot Roomba j7+ for obstacle avoidance and self‑emptying, Roborock S7 for vibration mopping — both reduce need for daily manual sweeping or a mop bucket.

Smart waste and compost solutions

Space‑saving options include sensor lids, compactors, and electric composters. Compare:

compression ratio (4:1–10:1) and cycle time for compactors.
compost processing time and odor control (carbon filters, HEPA, heat/airflow cycles) for countertop electric composters.

Scheduling, pairing, and immediate how‑to tips

Measure daily dish load (place settings/day) to decide countertop vs built‑in.
Automate: schedule dish cycles overnight, trigger robot vacuum 30–60 minutes after meals, and set smart trash alerts for compactor cycles.
Use a small foldable drying tray only as overflow — your automation should eliminate its everyday need.

Next, you’ll apply similar measurements and automation thinking to compact refrigeration and preservation tools.

3

Smart refrigeration and preservation tools for tighter footprints

Compact smart refrigeration tools integrated into a small white kitchen.
Smart refrigeration and preservation tools designed for tighter kitchen footprints.

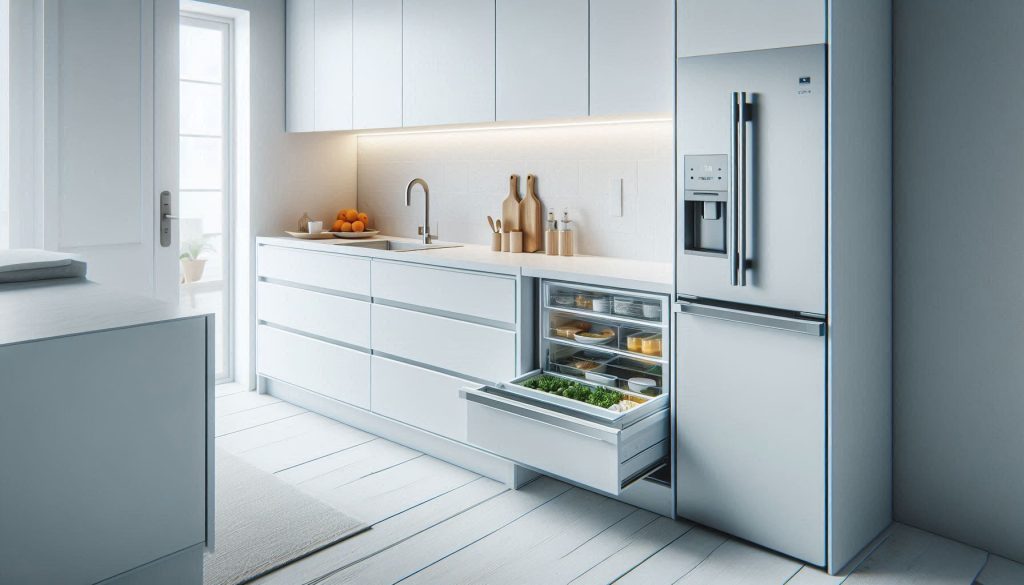
Space‑efficient fridge types to consider

Drawer refrigerators and under‑counter fridge drawers let you reclaim vertical space and maintain work‑triangle efficiency. Compact smart mini‑fridges (30–150 L / 1–5 cu ft) fit under counters or beside islands, and countertop cold drawers give immediate access to lunchbox items and frequently used condiments.

Selection metrics — what to measure before you buy

Usable internal volume: list liters or cu ft (e.g., 40 L / 1.4 cu ft vs 150 L / 5.3 cu ft).
Door swing / drawer depth: check cabinet face clearance and drawer travel (typical drawer depth 45–60 cm).
Energy efficiency: compare estimated kWh/year (small units commonly 100–300 kWh/yr).
Temperature stability: look for ±0.5–±2.0 °C variance for consistent cooling.

Targeted preservation devices that save space

Vacuum sealers (compact countertop units): reduce freezer bulk and allow tight stacking; vacuum sealing typically doubles to quintuples refrigerated shelf life for meats/cheeses and drastically cuts freezer‑burn.
Smart crisper inserts: monitor and regulate humidity/temperature (some report 20–50% less produce spoilage).
Countertop cold drawers: keep prep ingredients at hand without opening full fridge; ideal for small households.
Compact smart mini‑fridges with app diagnostics: get temperature alerts, power/door notifications, and remote diagnostics to avoid spoilage.

Models to inspect: Fisher & Paykel fridge drawers for built‑in fit; compact smart units from major brands with Wi‑Fi diagnostics (compare app features before purchase).

Integrating sensors & inventory tracking

Use barcode/RFID tags or simple weight sensors and an app to track perishables; automated alerts prevent redundant buys and free up space. Even a low‑cost scale under a drawer can indicate when staples run low.

Installation notes & layout tips

Allow manufacturer venting clearance (commonly 5–10 cm) and ensure drawer slides clear cabinetry.
Verify circuit capacity — multiple powered drawers may need an electrician consult.
Place refrigeration near prep and sink but out of main traffic paths to keep workflow smooth and aisles clear.
4

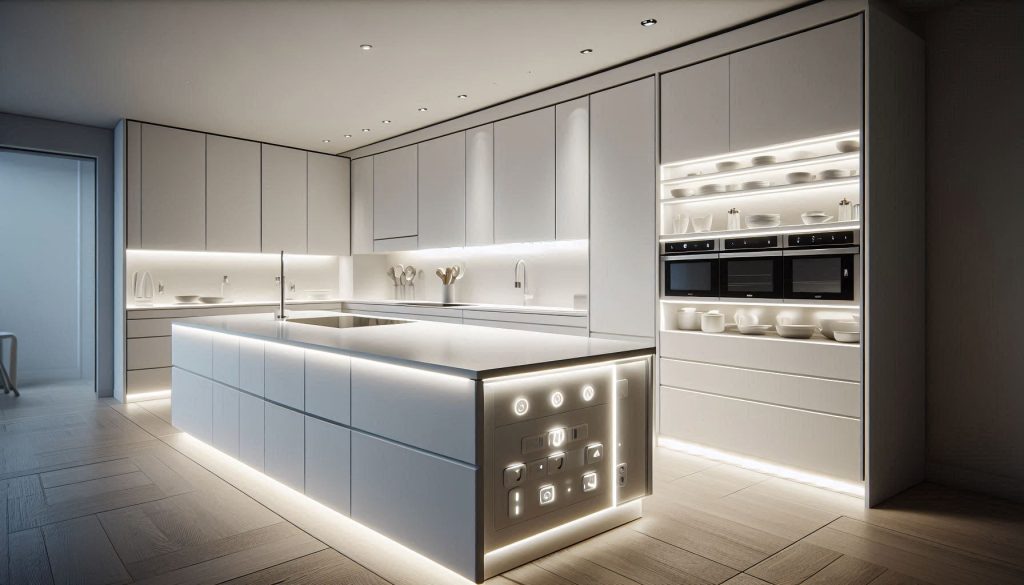
Motorized and modular smart storage systems to maximize vertical space

Motorized and modular smart storage systems maximizing vertical space in a white kitchen.
Smart motorized and modular storage that unlocks vertical space in small kitchens.

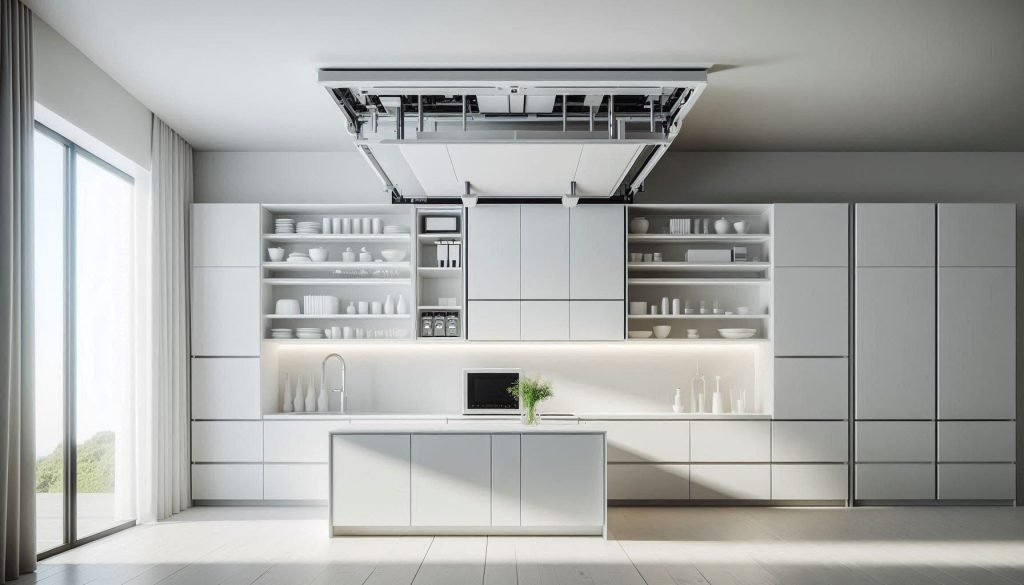
Why these systems matter

You reclaim unreachable vertical volume and reduce the need for bulky base cabinets by bringing high shelves to hand. In practice, a single motorized upper‑shelf lift can replace a 600 mm base drawer bank, freeing floor area for a slim island or open toe‑space.

Key product types and examples

Motorized pull‑down shelves: bring upper shelves to counter height (look at motorized variants from Kesseböhmer or Rev‑A‑Shelf product lines).
Lift‑system cabinets: electric lifts such as Blum Aventos + SERVO‑DRIVE convert tall uppers into accessible storage.
IoT modular racks: reconfigurable shelving with integrated scales/RFID and Wi‑Fi connectivity (combine modular aluminum rails with smart scale modules and an app like Grocy or AnyList for tracking).

Selection metrics you must check

Maximum load capacity: specify in kg (typical motorized lifts: 5–25 kg).
Travel range & speed: mm travel and mm/s (e.g., 300–600 mm range; 20–50 mm/s).
Installation footprint & mounting: cabinet top mounting vs. face-frame retrofit; required clearances in mm.
Sensor accuracy: weight sensors in grams (±5–50 g) or item‑detection accuracy for camera/barcode systems.

Quick how‑to & best practices

Measure vertical depth and calculate expected load (include stored weight + dynamic force).
Prioritize units with soft‑stop and overload protection.
Use barcode/RFID tags or a phone‑camera scanning workflow to log pantry items into Grocy/AnyList; pair with a smart scale under a shelf for automated weight triggers.

Calculating reclaimed space & payback

Reclaimed cubic meters = reclaimed linear meters × shelf depth (m) × average shelf height (m).
Simple payback (yrs) = system cost ÷ annualized cabinetry renovation cost avoided. Example: a $1,200 lift replacing $3,600 of new cabinetry → payback ≈ 0.33 years in avoided renovation cost (or compare to incremental value to your layout over time).
5

Integrated intelligent fixtures and appliances that eliminate redundant tools

Integrated intelligent kitchen fixtures replacing multiple standalone appliances in a white kitchen.
Integrated intelligent fixtures that eliminate redundant tools in small kitchens.

Why integration wins in tight kitchens

When you fit multi‑function fixtures into your architecture, you stop storing single‑use gadgets. One condo owner I know replaced a countertop microwave, a toaster oven and a standalone steamer with a built‑in combi‑steam oven and reclaimed roughly 0.4 m² of usable counter — the same logic scales to faucets, sinks and hoods.

Key integrated fixtures and real models to consider

Smart, touchless faucets with measured dispense: Moen U by Moen; Grohe Blue/Red tap families for filtered/instant water.
Integrated sink‑scale combos: recessed smart scales like the Drop Scale (recess kit) or custom sink modules from kitchen specialists.
Built‑in combi steam/microwave ovens: look at combi‑steam series from Miele or Bosch Series models that combine steam, convection and microwave functions.
Retractable/hidden hoods and downdraft systems: Zephyr and Elica make motorized hoods that stow flush with cabinetry.

Selection criteria (measure these)

Faucets: flow rate (L/min — typical 4–12 L/min); temperature control resolution (aim for ±1°C); preset volume accuracy (±5–10 mL).
Scales: accuracy in grams (±1 g for baking; ±5 g acceptable for prep).
Hoods: extraction rate (m³/h — 300–1,200 m³/h depending on cooktop); noise (dB SPL at cook level — <60 dB ideal).
Ovens: microwave power (W, e.g., 900–1,200 W), convection element power (kW), cavity volume (L — 20–50 L) and steam output (g/min).

Installation, maintenance & interoperability

Plan for trades: plumbing, dedicated electrical circuits, and ducting or recirculation options. Retractable hoods often need structural reinforcement.
Maintenance: replace filters, descale steam generators annually, and calibrate scales. Factor service access into cabinet design.
Interoperability: expect Wi‑Fi/Bluetooth, OTA firmware updates and basic API integrations; prefer vendors with strong security histories and local‑control fallbacks.

Practical tip: prioritize one integrated swap (faucet + recessed scale, or combi oven) and test lifecycle costs before wider retrofits — next, you’ll want to coordinate lighting, power management and retractable utilities to fully free work surfaces.

6

Smart lighting, power management, and retractable utilities to free work surfaces

Smart under-cabinet lighting and retractable power outlets freeing counter space in a white kitchen
Smart lighting and retractable utilities that keep kitchen work surfaces clear.

Under‑cabinet & task lighting: do more than illuminate

Choose LED under‑cabinet fixtures that deliver 300–500 lux on the countertop (roughly 300–500 lumens per linear foot), CRI ≥ 90 for accurate food prep colors, and efficiency ≥ 100 lm/W for low heat. Aim for even runs mounted near the front lip to avoid shadows. Motion sensors with response times of 100–300 ms are ideal so lights turn on instantly when you approach with a bowl or knife (Philips Hue Motion Sensor performs reliably in kitchens).

Hide power when you don’t need it

Retractable pop‑up outlets and motorized power modules free edges that fill up with chargers:

Look for pop‑up units rated for at least 13–15 A (some commercial modules support 20 A).
Models to consider: EVOline Port Push, Legrand Pop‑Up Outlet, Mockett pop‑up power.Install them recessed into islands or counter backsplashes so plugs disappear when not in use.

Smart switches, outlets, and automation rules

Use smart outlets and scene logic to avoid leaving bulky chargers and small appliances plugged in:

Smart strips (TP‑Link Kasa HS300) for grouped devices; Shelly/Zoheem plugs for per‑device power metering.
Automation examples: cut power to phone chargers at 23:00; shut off the espresso machine’s standby after 10 minutes idle; enable a “Prep” scene that powers under‑cabinet lights and a single counter outlet.

Wiring & layout tips for less clutter and safe power

Route LED feeds inside cabinets or in adhesive cable channels to keep cords off counters.
Provide an in‑cabinet dedicated outlet for single‑use appliances (mixer/sous‑vide) to tuck cords away.
For high‑draw gear (induction, ovens), plan dedicated circuits (30–50 A as required) so you don’t rely on space‑consuming standalone power conditioners.

Plan fixtures with IP44 or higher in splash zones (IP65 if near direct water) and coordinate with your electrician for recessed pop‑ups and dedicated circuits — next, you’ll tie these devices into central control hubs and automation strategies.

7

Control hubs, data‑driven automation strategies, and selection checklist

Smart kitchen control hub with automation dashboard and integrated sensors in a white kitchen.
Control hubs and data-driven automation that reduce redundancy in smart kitchens.

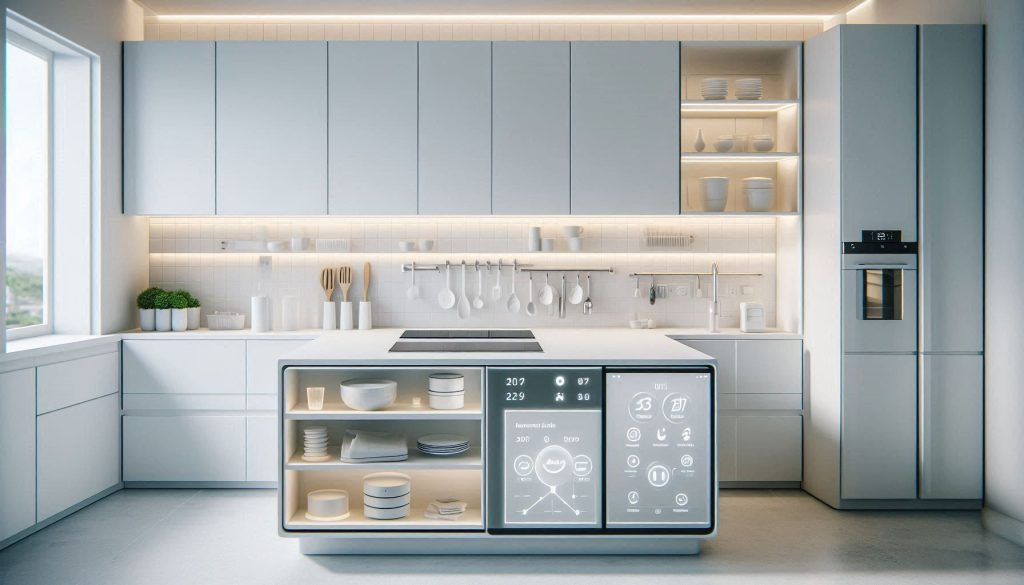
Pick the right hub or ecosystem

Decide whether you want a local‑first hub (Home Assistant, Hubitat) or cloud‑centric ecosystems (Amazon Alexa, Google Home, Apple HomeKit). Local hubs keep mission‑critical flows (power, door locks, refrigeration) running during outages and preserve privacy; cloud services offer convenient voice control and wide third‑party integrations. Prioritize Matter support for future‑proofing — Philips Hue Bridge, Eve, and many newer devices are already bridging gaps.

Practical automation patterns that reduce redundancy

Use simple, measurable routines to make devices replace one another and disappear:

When a vacuum sealer finishes, trigger a compact smart oven (e.g., Breville/June alternatives) to preheat for reheating, avoiding a second toaster oven.
Occupancy sensors switch task‑zone lights and enable the prep outlet; smart strips kill standbys when nobody’s home.
Weight/contact sensors on pull‑outs open motorized shelves only when needed, avoiding extra countertop staging.

Selection checklist — verify these before buying

Physical dimensions and mount/clearance needs
Power and circuit requirements (amps/voltage) and connector type
Connectivity: Wi‑Fi band, Zigbee/Z‑Wave, Thread support (Matter compatible)
Noise level (dB) under load and typical duty cycle
Safety & certifications (UL, ETL, CE) and IP rating for wet zones
Warranty length and clear firmware update policy
API/local‑control capability and documented developer access
Cloud dependence: graceful local failover? encryption and data‑handling notes

Automation design & measurement

Prioritize local control for locks, refrigeration, and power cutoffs.
Use occupancy plus weight/contact sensors to open/illuminate only the active zone.
Log usage metrics for ~3 months (on/off events, run time, energy) to validate reductions in clutter and time.

Simple ROI framework

Payback months = Device cost ÷ (annual avoided appliance purchases + annual energy savings + monetized value of reclaimed space). Plug in conservative estimates to decide whether a smart upgrade truly frees up room and money.

Now, move to the article’s Conclusion to put these systems into practice.

Putting smart, space‑saving tools to work in your kitchen

Combine compact smart cooking units, targeted refrigeration, motorized vertical storage, integrated fixtures and intelligent lighting and power to shrink footprint while raising capability. Prioritize measurable criteria—dimensions, energy consumption, noise levels, interoperability and maintenance costs—so each device earns its place. Plan automation around real workflows: map tasks, measure time savings, and phase in routines that free surfaces, hands and time.

When you choose tools with data you reduce clutter and regret. Start small, test integrations, and iterate based on real use. With the right selections and data‑driven approach, you can convert cramped kitchen into high‑functioning space without expanding square footage.

Leave a Comment

Your email address will not be published. Required fields are marked *