Modern smart kitchen with time-saving appliances and automation designed to improve cooking efficiency.

12 Smart Kitchen Must-Haves Proven to Save Time

In today’s fast-paced world, the kitchen should be a place of efficiency, not a source of stress. Whether you are a busy professional or a parent juggling a packed schedule, the right kitchen gadgets and essentials can transform your daily routine by shaving off precious minutes from meal prep and cleanup. Investing in smart kitchen must-haves isn’t just about following the latest trends; it’s about utilizing innovative design and technology to streamline your cooking process and reclaim your time.

From high-speed appliances to clever organizational tools, these time-saving kitchen tools are proven to enhance productivity without sacrificing the quality of your meals. In this guide, we’ve curated a list of 12 essential kitchen items that every modern home needs to work smarter, not harder. Discover how these high-performance upgrades can simplify your life, reduce kitchen clutter, and make every minute spent at the stove more enjoyable and effective.

Why Smart Kitchen Essentials Matter for Your Time and Results

Ever wish cooking fit your schedule instead of the other way around? Upgrading your kitchen with smart tools is one of the highest‑leverage ways to save time, reduce errors, and produce repeatable results. This guide is practical and purchase‑oriented: you’ll learn how devices and systems affect prep minutes saved, hands‑on cooking time, energy and water use, and routine maintenance time so you can compare real tradeoffs.

You’ll get six focused sections — automation, connectivity, prep and portioning, cleaning, space and power, and decision support — that help you make choices for modern homes. By the end you’ll know which smart investments cut minutes from your week and improve meal consistency.

1

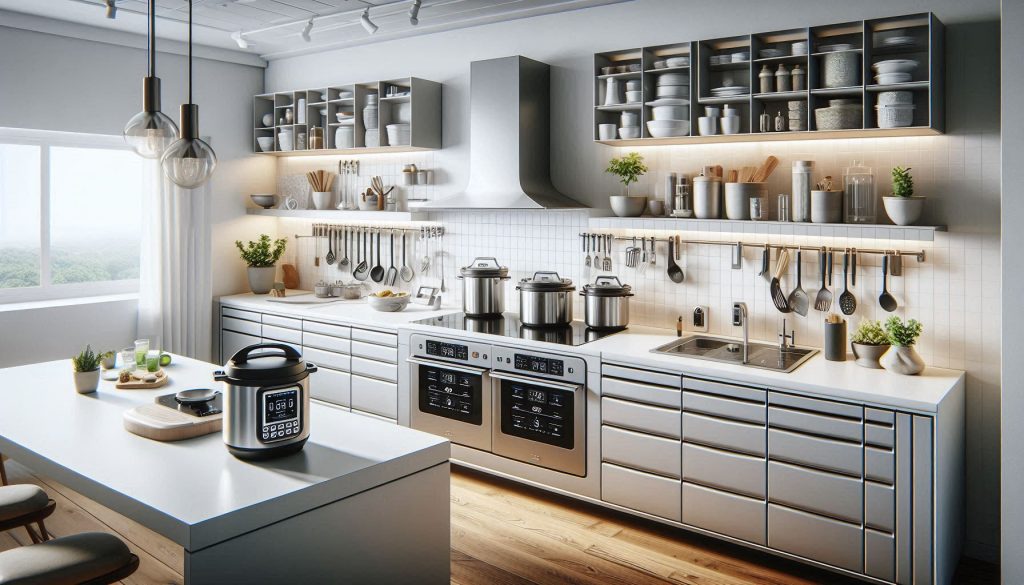
Automate Cooking: Smart Appliances That Reduce Hands-On Time

Smart kitchen with multicooker, smart oven, air fryer, and Wi-Fi sous-vide, showing automated cooking and time-saving digital overlays.
Smart cooking appliances automate meal preparation, reducing hands-on time and streamlining weekly workflows.

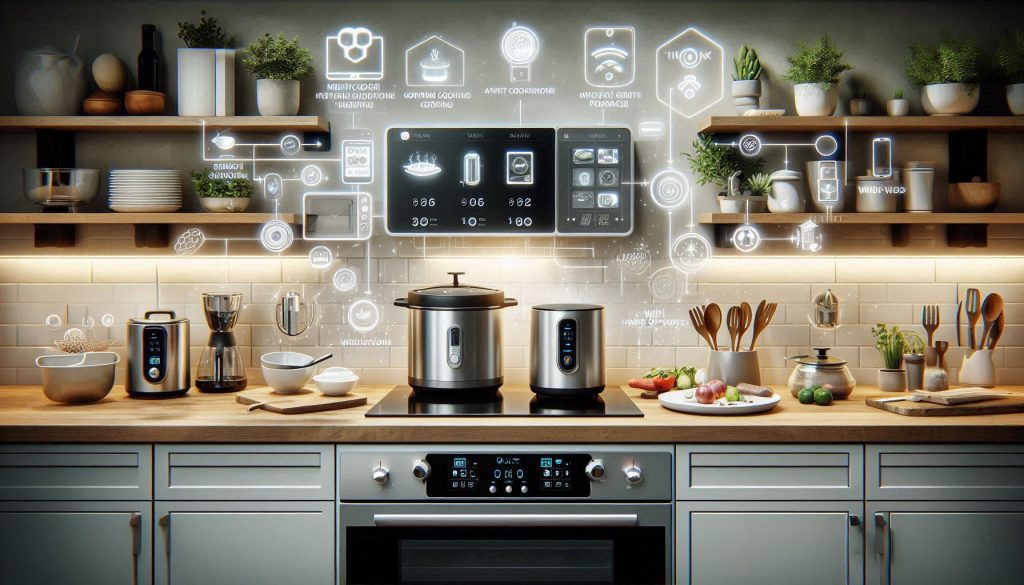
What automation each appliance gives you (and typical time savings)

You’ll find four appliance categories that reliably cut active cooking time.

Multicookers (Instant Pot Duo/Smart, Ninja Foodi): pressure and multi-step programs replace stovetop babysitting. Typical savings: 20–45 minutes of active monitoring per dish (you trade high-pressure cook time for set‑and‑forget schedules).

Smart ovens (June Oven, Breville Smart Oven Air): sensors, cameras, and presets reduce trial-and-error and manual temperature fiddling. Typical savings: 10–30 minutes per roast or bake by eliminating probe checks and false starts.

Intelligent air fryers (Cosori Smart, Ninja Air Fryer): faster browning without preheat and constant flipping. Typical savings: 10–25 minutes plus reduced attention vs conventional oven.

Wi‑Fi slow cookers and sous‑vide (Crock‑Pot Smart, Anova/Joule): almost zero active time once set; sous‑vide adds hands‑on finish. Typical savings: 60–120 minutes of active work per meal compared with stovetop/oven techniques.

Smart features to prioritize

Remote scheduling and start/stop
Integrated cooking sensors (probe, ambient temp/humidity)
Cloud recipes and adaptive programs
Automatic shutoff and safety alerts
Firmware updates and reliable app/voice control

Trade-offs to weigh

Footprint: multicookers and air fryers are bulky; choose stackable or multi‑function models (Ninja Foodi) for small counters.
Energy profile: short, high‑power cycles (air fryer) vs long, low‑power runs (sous‑vide); estimate kWh if you run devices for hours.
Learning curve: sous‑vide and smart‑oven camera features need time to master.

How to compare models (quick test protocol)

Cycle-run time: measure total elapsed vs active hand time.
Manual interventions: count times you open/adjust during a cook.
Temperature accuracy: probe reads vs setpoint (±2–3°F ideal).
Recipe success rate: test two standard recipes across brands.

Combination use-cases that change weekly workflows

Weeknight combo: set a multicooker chili at 6 p.m., crisp portions in an air fryer at 7:30 p.m. — you handle plating only.
Meal-prep combo: sous‑vide chicken overnight, flash‑broil in a smart oven for 10 minutes, portion and freeze.

Buying tip matrix: single cooks favor compact, Wi‑Fi multicookers; families benefit from larger multicookers + air fryer; tight counters should prioritize multi‑function units. To measure ROI, convert minutes saved into hours/month (20 min/day = ~10 hrs/month) and multiply by your time value, then compare to purchase price and estimated monthly energy costs.

Next, you’ll see how connectivity and control—hubs, displays, and voice interfaces—tie these appliances into a coherent, low‑effort workflow.

2

Connectivity and Control: Hubs, Displays, and Voice Interfaces

Four smart kitchen connectivity devices including a control hub, smart display, voice assistant, and mobile dashboard in a white modern kitchen layout.
Smart kitchen control hubs, displays, and voice interfaces working together to centralize automation and save time

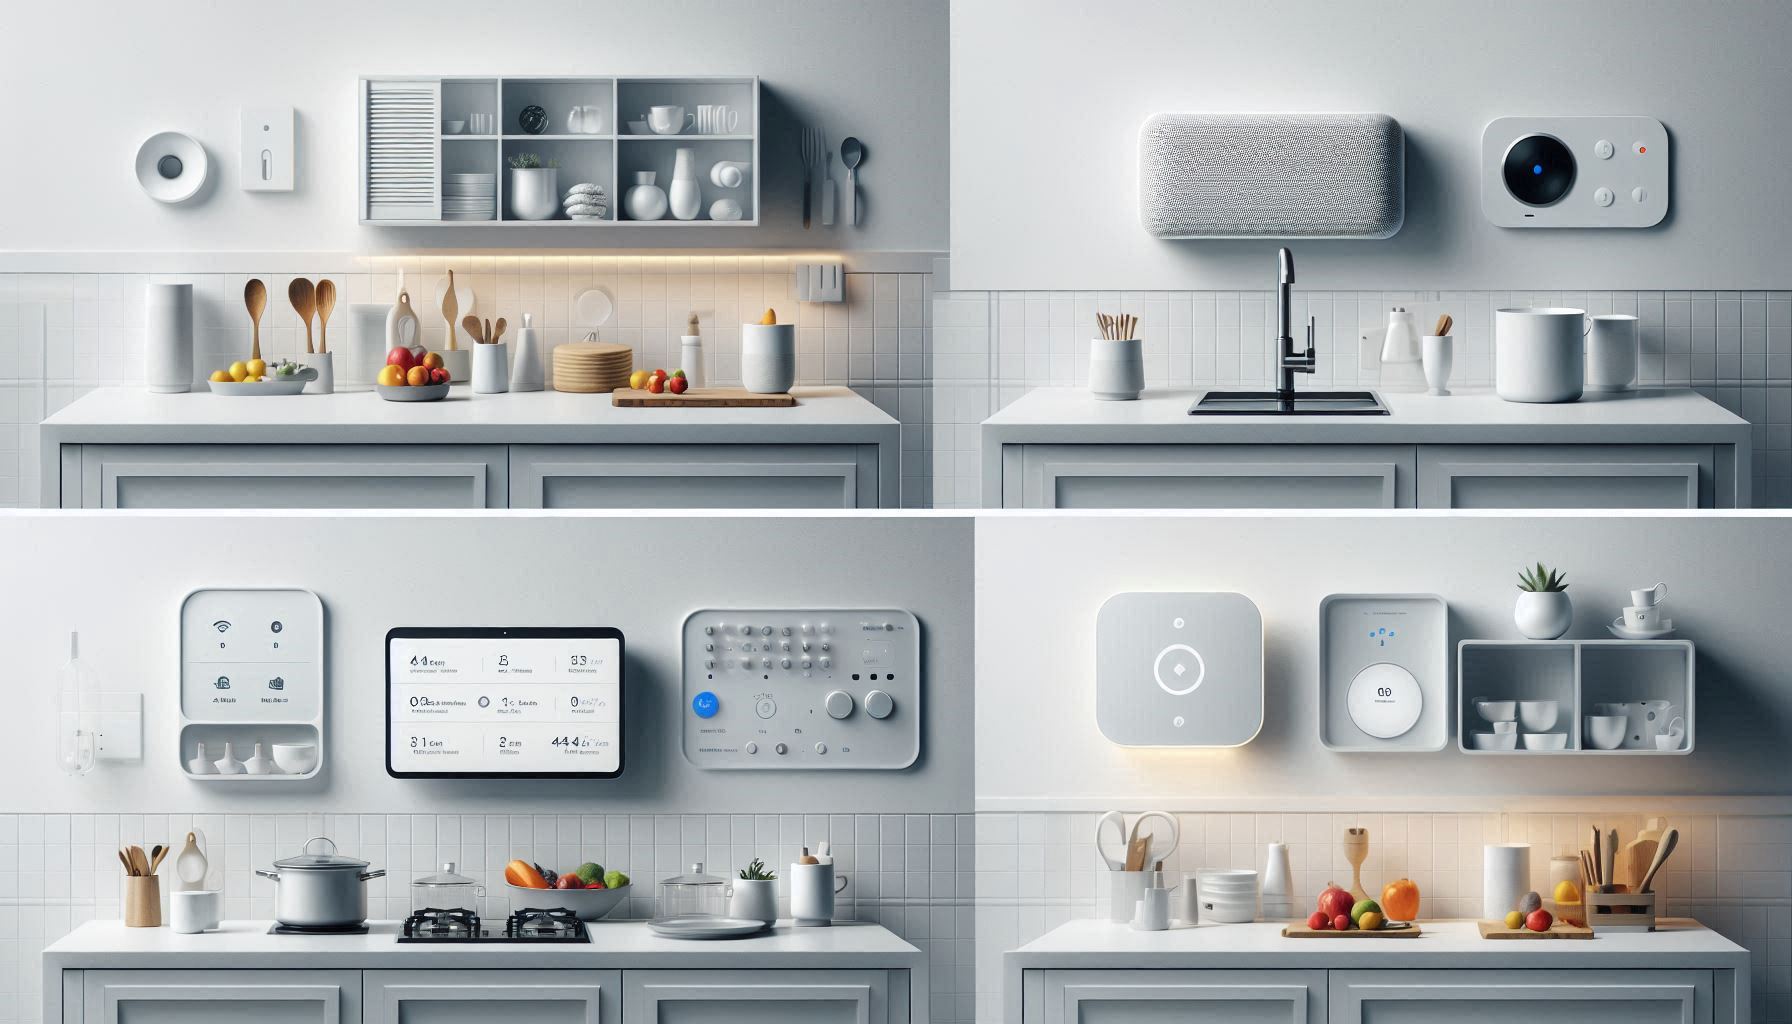
Why the control layer matters

You can buy the smartest appliances, but if you’re toggling five apps and a Bluetooth dial, you waste the minutes those devices saved. The control layer—hubs, displays, and voice—consolidates timers, recipes, and device choreography so workflows become frictionless. Think: one “Start dinner” voice command that preheats the oven, starts the multicooker timer, and cues a lighting scene.

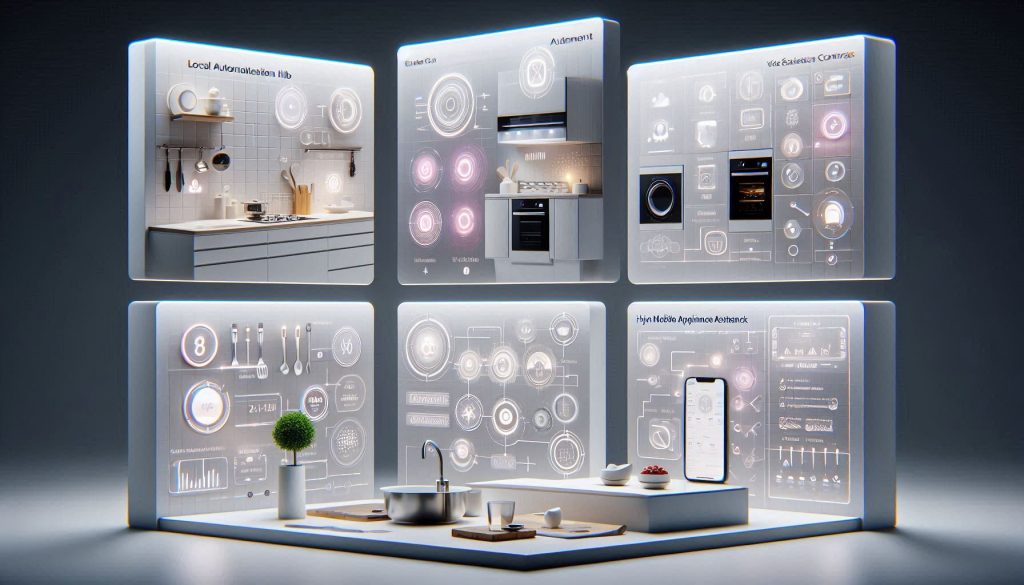
Choosing a hub: local vs cloud (quick checklist)

When evaluating, weigh responsiveness, reliability, and compatibility.

Prioritize local hubs (Hubitat, Home Assistant on Raspberry Pi) for sub-second triggers, privacy, and continued operation during internet outages.
Choose cloud-based convenience (SmartThings, vendor apps, Philips Hue cloud) when you value broad device integrations and mobile access without DIY setup.
Hybrid: use HomeKit/Apple TV or a Hubitat for local automations and a cloud service for remote control.

Smart displays and voice: practical workflows

Use a central display (Echo Show 8/10, Google Nest Hub, Samsung Family Hub) at cooking height to consolidate timers, step-by-step recipes, and live camera feeds.

Example routine: “Hey Alexa, start dinner” triggers: start drip coffee schedule, preheat smart oven (June/Breville), set multicooker to keep warm, and start a 25‑minute air-fryer crisp countdown on display.
Design routines with conditions: only run the oven preheat if ambient kitchen temp < X, or delay air-fryer step until the multicooker reports done.

Failure modes and mitigation

Anticipate latency, outages, and firmware surprises.

Expect local automations to run in <1–3s; cloud round‑trip delays can be 2–8s or longer during peak load.
Mitigations: keep critical automations local, segment IoT on a guest VLAN, use static IPs for hubs, and maintain an on‑site backup hub (cheap Raspberry Pi with Home Assistant).

Security & setup checklist

Follow these low‑overhead protections to avoid adding maintenance.

Change default passwords; enable 2FA on accounts.
Put IoT on a separate network; use WPA3 where available.
Schedule non‑critical firmware updates overnight; snapshot hub configs before big updates.
Test key routines monthly and log failures to your phone.

Next, you’ll learn which prep-and-portion tools best exploit these automated workflows for faster mise en place.

3

Prep and Portioning: Smart Tools That Speed Mise en Place

Four-panel digital white illustration showing a smart kitchen control system with local hub, cloud-connected display, voice assistant, and mobile dashboard in separate panels.
Visualizing four layers of smart kitchen control: local hub, cloud display, voice assistant, and hybrid mobile interface in a clean, white digital layout.

Why this layer matters

Smart prep tools convert a long list of fiddly tasks into a short, repeatable routine. When you control weight, particle size, and storage format, you cut variance (fewer failed dishes), reduce waste, and compress weekday assembly from 30–45 minutes to about 8–12 minutes in most cases.

Smart scales & automated portioning

Use a connected scale to standardize recipes and automate portioning. Examples:

Drop Scale (app-driven): recipe integration and tare automation.
Acaia Pearl (precision, coffee-grade): great if you need ±0.1 g accuracy.Practical tips:
Batch-cook and weigh total yield, then divide by target portion weight to create consistent packages.
Print simple labels with weight, date, and reheat time; a Brother PT-D210 labeler is inexpensive and fast.

Knives and sharpening: digital guidance beats guesswork

Truly “app‑linked knives” are still niche; instead, adopt digital-aided sharpening systems and angle guides that give repeatable edges.

Chef’sChoice Trizor XV (electric sharpener): consistent bevels with low skill required.
Work Sharp Guided Sharpening (manual control): more control over edge angle.Best practice: schedule a quick honing before long batch sessions and a full sharpening every 3–12 months depending on use.

High-efficiency food processors & programmable pulses

Choose processors that accept programmable pulses or guided presets to reproduce texture across batches.

Thermomix TM6 (guided, multi-function) reduces tool changes.
Breville Sous Chef (high-torque, large feed tube) for fast slicing/dicing.Tip: use the same pulse program for a given prep (e.g., “coarse chop” = 3 × 1s pulses) and save the steps in your control hub or notes.

Intelligent vacuum sealing & batch protocol

Reliable vacuum sealing extends freshness and slashes weekday assembly time.

Consumer picks: Anova Precision Vacuum Sealer, FoodSaver V4840.Batch protocol (high ROI):
Batch-cook > cool quickly > weigh into target portions > vacuum seal > label (date, weight, reheat).Impact: if fresh cooking averages 35 min/meal and sealed reheats take 10 min, you cut per-meal active time by ~70%.

Measuring improvements & maintenance realities

Track baseline: record prep and assembly times for one week, then repeat after adopting tools. Monitor food cost per meal by dividing grocery spend by usable portions; expect food waste drop of 15–30% if you portion and freeze consistently.Maintenance notes:

Blade resurfacing/sharpening: 3–12 months.
Scale calibration: monthly or after relocation.
Vacuum pouches: $0.20–$1.00 each (buy bulk).
Consumable planning prevents unexpected operational costs.

Next up: how smart cleaning and aftercare devices further multiply the time you’ve saved during prep.

4

Cleaning and Aftercare: Devices That Reduce Post‑Meal Chores

Modern smart kitchen with countertop dishwasher, steam sanitizer, and robotic vacuum and mop operating efficiently in a bright, minimalistic space.
Smart cleaning appliances streamline post-meal chores, reducing hands-on time and keeping the kitchen spotless

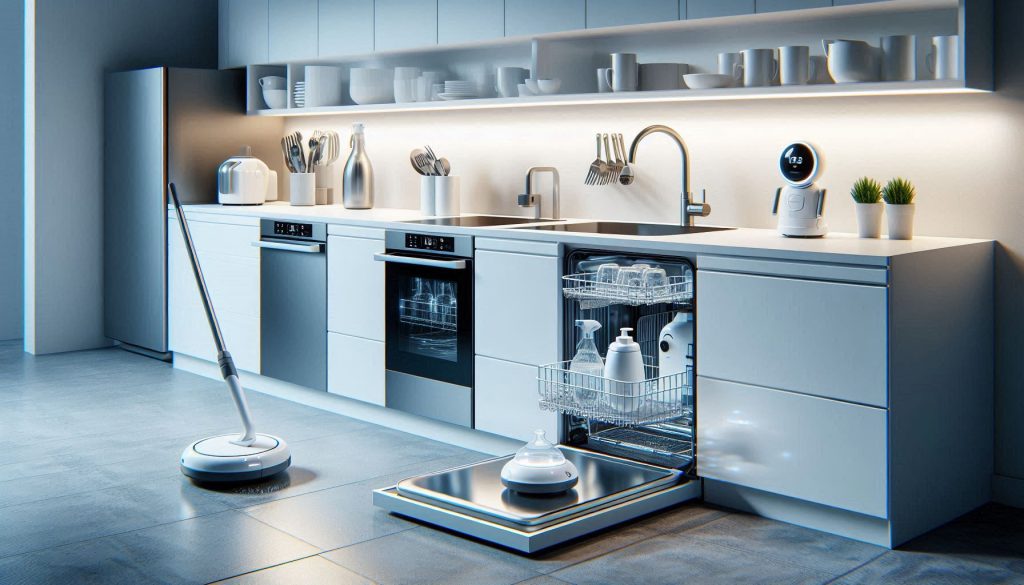
Dishwashers that actually cut hands‑on minutes

Modern dishwashers can turn scrub time into seconds of supervision—if you pick the right features. Look for:

Soil-sensor or turbidity‑based “auto” cycles (shorten run time when load is light).
Load‑sensing and variable spray zones (focus water/energy where needed).
Self‑cleaning or easy‑flush filters (cut the weekly filter-scrub chore).
Auto‑dispense detergent systems (Miele AutoDos / TwinDos style) and auto‑open drying to avoid towel‑drying.

Real examples: Miele G7000 (AutoDos, AutoOpen), Bosch 800 Series (PrecisionWash, EcoSilence). Avoid paying a premium just for Wi‑Fi if it doesn’t change cycle behavior—connectivity is convenient but not a cleaning time-saver by itself.

Countertop sanitizers and targeted aftercare

For baby bottles, cutting boards, utensils and small cookware, steam sanitizers reliably reduce manual scrubbing and kill pathogens without chemicals—examples include Philips Avent steam units. UV boxes can be useful for gadgets and certain plastics, but they’re limited by line‑of‑sight and claims about broad “sterilization” can be marketing-heavy. Use steam for greasy or wet soil, UV for dry, non-porous items.

Robotic floor and under‑cabinet cleaning

Robots catch the crumbs that create constant low‑level chores. Combine:

Robot vacuums with dirt‑detect and slim profiles (iRobot Roomba j7+/s9+).
Robot mops for sticky spills (Roborock S7, Braava jet m6 for targeted mopping).

Schedule robots to run during or immediately after cooking so sweeping and spot‑mopping happen without you.

How to read efficiency metrics

Focus on practical numbers:

Cycle time (min): shorter is better if cleaning rate stays high.
Water per cycle (L) and energy per cycle (kWh): lower values mean real resource/time savings.
Effective cleaning rate: proportion of common soils removed (grease, starch, baked-on food)—check independent tests or consumer reports.

Daily routines to make cleanup passive

Scrape/sort (compost, soak, dishwasher) during plating; start dishwasher immediately on “auto” mode.
Run robots on a cooking schedule; trigger sanitizers for baby items after meal.
Use delay‑start to run heavy cycles overnight during off‑peak energy.

Maintenance checklist — protect your time savings

Empty robot bin & clean brushes weekly.
Rinse dishwasher filter monthly; descale 2–4×/year.
Replace robot brushes/filters per manufacturer intervals.
Update firmware and use recommended detergents.

Next, you’ll see how spatial layout and power decisions let these devices work without creating new bottlenecks.

5

Space, Power, and Workflow: Design Choices That Multiply Efficiency

Efficient modern kitchen with induction cooktop, modular drawers, pop-up outlets, and multifunction appliances arranged for optimized workflow.
Smart layout, power access, and modular storage maximize kitchen efficiency and reduce setup time.

Smart devices save time only if your kitchen supports them. Small layout and power decisions remove friction so your gadgets deliver predictable speed-ups rather than new setup hassles.

Cooktop choices: induction vs. traditional

Induction wins for reactiveness and clean-up speed: pots heat and cool in seconds, which reduces active monitoring and saves minutes on multi-step recipes. If you cook a lot of sautés or weeknight stir‑fries, try an induction cooktop (examples: Bosch 800 Series induction, GE Profile induction) or a countertop induction unit (NuWave, Duxtop) to test benefits before a full remodel. Tip: verify cookware compatibility and plan for adequate ventilation—induction transfers less waste heat to the room, improving comfort.

Storage and modularity for fast access

Design storage around frequency, not size. Put the 10–20 items you touch every day within arm’s reach.

Use modular under‑counter drawers and pullouts (Blum Legrabox, Rev‑A‑Shelf pullouts, IKEA SEKTION inserts) to keep appliances, lids, and prep tools visible and accessible.
Create a “hot zone” drawer next to your cooktop for spatulas, tongs, and timers.
Reserve a single shallow drawer for gadgets you use daily (scale, thermometer) so they’re always charged and ready.

Power access and cord management

Hard‑to‑reach outlets kill momentum. Add in‑counter or under‑cabinet pop‑up outlets (Legrand adorne, Hubbell pop‑ups) and dedicate circuits for high‑draw devices. Use retractable cords, magnetic chargers, or a small power hub inside a drawer to avoid dangling cables.

Mount a strip or outlet behind appliance garages so multicookers or blenders stay plugged in but tucked away.

Workflow experiments you can run (10–30 minutes)

Time each step of a typical meal (prep, cook, plate). Note longest pauses.
Map your movement: mark start and end points for 10 common tasks and count steps.
Identify “high‑frequency zones”: where you spend most time or cross paths.Then apply one intervention (move spice rack, add outlet, swap cabinet for drawer) and re‑time the same meal to measure seconds saved.

Consolidate, don’t gadget‑stack

Favor multifunction appliances (Ninja Foodi, Instant Pot with air‑fry lid) to reduce setup, storage, and cleaning. Each single‑purpose gadget must earn its shelf space in seconds saved per use.

6

Smart Decision Support: Apps, Planning, and Data-Driven Routines

Modern kitchen with tablet showing smart cooking and grocery dashboards, smart oven and scales, illustrating data-driven meal planning.
Data-driven apps and routines help measure time savings and automate weekly kitchen workflows.

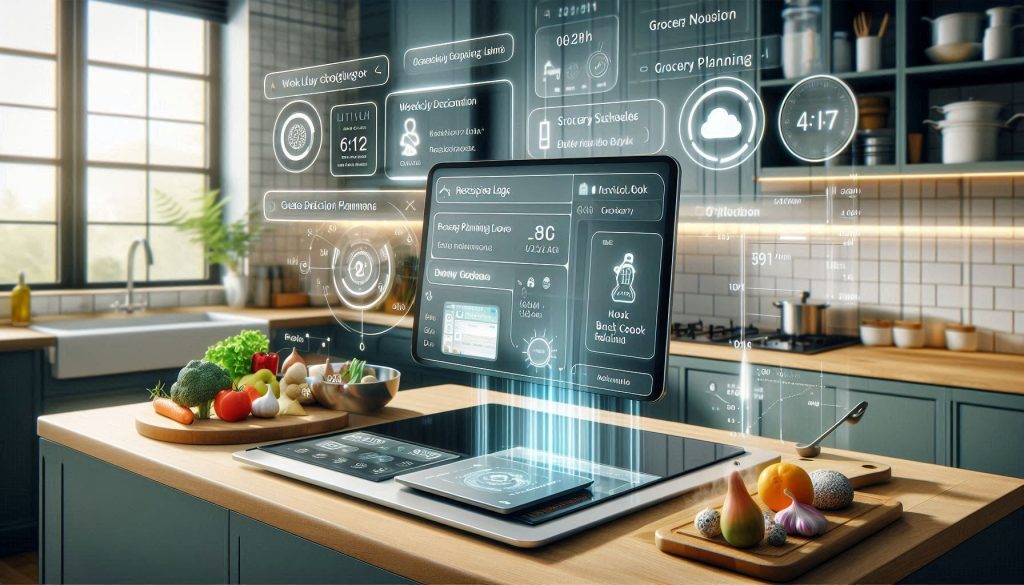
You’ve outfitted the kitchen hardware — now make software and routines turn that hardware into measurable time savings. This section shows how to set goals, measure outcomes with device logs and app metrics, build a data‑driven weekly routine, and adopt integrations while protecting your privacy.

Set clear, measurable goals — and verify them

Decide what “time saved” means for you. Examples:

Reduce weekday active prep by 20 minutes per night.
Eliminate more than two last‑minute grocery trips per month.

How to verify:

Use device/app logs (oven/multicooker run times, smart scale usage, recipe app timers).
Export or snapshot weekly totals (many apps offer CSV export or integrate with Home Assistant/IFTTT/Google Sheets).
Compare baseline week → intervention week to quantify minutes saved.

Templates: a weekly routine rooted in data

Start with a simple, repeatable cadence. Example template:

Sunday batch-cook (90 minutes): cook 3 proteins + 2 sauces; freeze portions; log cook sessions in app (Paprika, Whisk, or a smart oven app).
Tue/Thu quick-cook (20 minutes): use prepped proteins + fresh greens.
Replenishment threshold: if pantry item falls below 30% of weekly use or milk below 2 days’ supply, auto-add to shopping list.

Tools that help: Paprika or Whisk (recipe scaling and grocery sync), AnyList (shared lists), Mealime/Yummly (meal plans), smart oven apps (Tovala, Breville, Instant Pot companion) that accept scaled recipes.

Shopping automation and decision fatigue

Link grocery lists to delivery (Instacart, Amazon Fresh, or local APIs) for one‑click reorders.
Use subscription/auto‑reorder for true staples (coffee, olive oil).
Keep manual overrides: review weekly orders before checkout.

Privacy & interoperability best practices

Prefer OAuth integrations and read permissions before connecting.
For maximum privacy, use local-first hubs (Home Assistant) to aggregate logs without cloud sharing.
Create service-specific accounts and rotate API tokens. Export only aggregated metrics (minutes saved per week), not raw device logs, when sharing.

Roadmap: incremental adoption

Low-friction: install a meal planner + shared grocery list; time one meal for baseline.
Intermediate: link recipe app to shopping, schedule one batch‑cook weekly, enable simple automations (IFTTT).
End state: device-triggered routines, automated reorders, and a weekly analytics dashboard (Home Assistant/Sheets) showing verified minutes saved.

Next, you’ll pull these ideas together into practical steps for rolling out smart upgrades across your household.

From Tools to Time: Implementing Smart Choices in Your Kitchen

You should choose upgrades that deliver measurable time savings, play well with other devices (interoperability), keep maintenance low, and justify cost through repeated gains. Prioritize tools that automate or eliminate your most frequent, time‑consuming steps, and favor platforms with clear update paths and replaceable consumables.

Three-step checklist: 1) Assess your workflow—time each routine and map bottlenecks. 2) Target the highest-time tasks and shortlist one or two smart solutions that meet interoperability and maintenance criteria. 3) Pilot one change for 2–4 weeks, measure time saved, and only scale purchases when ROI is clear. For deeper evaluation, consult manufacturer benchmarks, user forums, and independent lab tests before committing. Start upgrading today, confidently.

Leave a Comment

Your email address will not be published. Required fields are marked *