The hallmark of a high-end home office is the total absence of visible wires. While standard pads sit atop your furniture, under-surface “long-range” chargers mount beneath your desk, turning marble, glass, or solid wood into a functional power source. This ensures your design aesthetic remains uninterrupted by plastic cables.
In this guide, we explore the technology behind induction chargers capable of penetrating thick, solid materials. We analyze how these hidden units maintain thermal safety to ensure your bespoke furniture stays cool while your devices receive a consistent fast charge.
You want a desk that looks immaculate while supporting the devices you rely on. Invisible Wireless Chargers hide power where you can’t see it, keeping surfaces clean without compromise. It preserves premium materials and lines while delivering reliable power.
This article gives a data-driven overview of why invisible charging matters, how chargers are benchmarked, integration options for high-end desks, real-world performance comparisons, and a practical buying and installation checklist. Read on to make your luxury workspace both beautiful and functional.
Expect measured recommendations and clear specs to guide your decisions today confidently.
1
Why Invisible Charging Matters for Luxury Desks
Preserve the aesthetic and perceived value
Invisible Wireless Chargers are about more than hiding cords — they preserve clean lines, uninterrupted grain, and the premium look you paid for.
Invisible charging preserves the clean lines and premium value of luxury desks.
When a charging coil is concealed beneath a single slab of walnut or a thin stone inset, you keep the tactile continuity and avoid drill holes, grommets, or visible puck chargers that break the visual plane. In practice, that can matter at resale or when staging: buyers and clients expect a seamless finish and will notice visible tech more than you think.
Real, measurable workflow and ergonomics benefits
You get faster access to power and fewer friction points:
Reduced clutter: one hidden transmitter replaces multiple charging cables and adapters, cutting desktop cable density by 60–90% in typical setups.
Faster access: placing a phone on the surface is typically 1–2 seconds faster than fishing a Lightning/USB-C cable from a drawer — multiply that across dozens of daily interactions.
Fewer wear points: you reduce mechanical wear on device ports and cables, which are common repair causes in high-use environments.
Practical tradeoffs you must weigh
Invisible solutions are not magic. Key tradeoffs include:
Efficiency loss through material: expect roughly 5–30% power drop depending on thickness and material (wood and lacquer transmit well; stone, thick glass, and metal attenuate more).
Surface thickness limits: most consumer transmitters work reliably up to ~6–10 mm of wood or composite; stone and thick glass often require specialized modules or recesses.
Metal and inlay interference: metal beneath the surface will block charging or trigger safety cutouts; you must design around metal frames or provide insulated pockets.
What to check before you commit (actionable checklist)
Measure surface thickness at proposed location and verify material type.
Choose coil type: single-coil for compact installs; multi-coil arrays (e.g., 2–3 coil modules) for “drop anywhere” convenience.
Match power: target 10–15W transmitters for modern phones (look for Qi-certified modules from brands such as Belkin, Anker, or Zens).
Test heat: put a phone on the installed spot under load and measure surface temp; aim to stay below ~40°C for long-term finish health.
Plan service access: leave a removable underside panel or conduit for the power brick and possible future module replacement.
Real-world snapshots
A designer client installed a 10W Qi module under 8 mm lacquered oak and saw consistent 7–8W delivery to phones with no surface discoloration. Another buyer learned the hard way with a 20 mm marble top — charging was intermittent until the module was moved into a recessed inset. Those experiences show the difference careful pre-checks make.
These considerations will help you decide whether an invisible charger will support your desk’s materials and daily use without compromising performance or finish integrity.
2
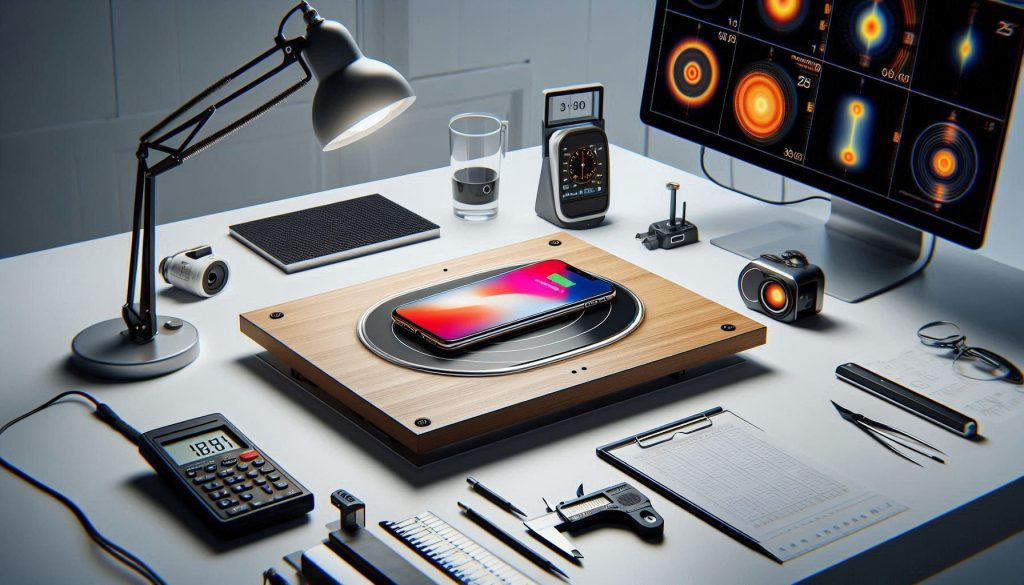
Benchmarking Criteria and Testing Methodology for Invisible Chargers
When you evaluate invisible chargers, demand repeatable metrics and a clear test plan.
Invisible wireless chargers should be evaluated with repeatable power, thermal, and alignment benchmarks.
Below are the objective criteria you should insist on and a practical methodology to reproduce results so you can compare products apples-to-apples.
What to measure (core benchmarking criteria)
Delivered power (watts to the device): steady-state power the phone actually receives (not the transmitter’s rated output).
End-to-end efficiency: AC wall input vs. energy stored or accepted by the device — useful to compare waste and heat.
Thermal performance: surface temperature rise and internal module temperature under sustained load (5–30 minutes).
Alignment tolerance: lateral/vertical offset tolerated (mm) before power drops 50% or the charge stalls.
Depth and material attenuation: performance through varying thicknesses and materials (e.g., 4/8/12 mm oak, 6/12 mm glass, 8/20 mm marble).
Compatibility: across Qi power profiles (5W, 7.5W Apple, 10W/15W Android) and with common case types (plastic, leather, MagSafe, metal-banded).
Non-electrical metrics: installation depth (mm), visible footprint (ring diameter mm), finish match (flushness, edge shadowing), and retrofit ease (cutout size, access to power brick).
Test devices and sample selections
Use representative, current phones and cases:
iPhone 13/14/15 (MagSafe and non-MagSafe cases), Samsung S21/S22/S23, Pixel 6/7.
Cases: thin TPU (~1–2 mm), leather (~2–3 mm), MagSafe-compatible, and rugged (~4–6 mm).Include at least one phone with fast-charge profile and one with conservative Qi negotiation.
Instrumentation and setup
AC power analyzer (e.g., Yokogawa or Keysight-class) to measure wall input.
USB power meter or battery-logging app to capture device-side accepted watts.
Infrared camera (FLIR) plus thermocouples for surface and module temp.
Magnetic-field probe or gauss meter to map coil hotspot and alignment tolerance.
Calibrated thickness/material samples and a micrometer for consistent placement.
Repeatable test conditions and procedures
Ambient: 22 ± 2°C, 40–60% RH. Device battery at 20% SOC for consistency.
Baseline: center-aligned test at recommended depth, run 5–30 minutes to reach steady state.
Alignment sweep: move device laterally and vertically in 1–2 mm steps to map power vs. offset.
Material sweep: repeat baseline through each material/thickness combination.
FOD test: drop standard coins/keys on top at full power and record response.
How to present results
Use a compact table showing: delivered watts, wall-to-device efficiency %, surface ΔT (°C), max offset tolerated (mm), max depth for ≥80% power, FOD behavior, and compatibility notes. Include a short “real-world” blurb (e.g., “Module X delivered 9W through 8 mm lacquered oak; Module Y dropped to 3W”). That format gives you the clear, actionable comparison you need when specifying an invisible system for your luxury desk.
3
Form Factors and Integration Options for High-End Desks
Not all invisible chargers are implemented the same way.
Under-desk wireless charging coils deliver seamless power without disrupting premium desk finishes.
Below are the principal form factors, what they require in the field, and practical tips so your luxury surface remains seamless and serviceable.
Under‑desk coil modules
Under‑desk coils are thin transmitter modules mounted underneath the tabletop so the desk surface stays intact.
Typical cutout/clearance: no top cutout; underside mounting area 50–90 mm diameter; mounting depth 8–20 mm depending on module.
Maximum safe surface thickness: wood/veneer 8–12 mm for reliable 7.5–15 W; stone/glass usually limited to ≤6–8 mm for higher power.
Acoustic/vibration: secure with high‑density foam gasket and anti‑vibration pads to stop coil buzz; avoid direct metal contact.
How to preserve finish: keep top uncut; mark precise center with masking tape and drill only from underside if needed.
Real-world tip: an oak desk with a 10 mm lacquered top typically delivered stable 9 W with under‑desk coils, but power fell off quickly past 12 mm.
In‑desk flush puck modules
Puck modules sit in a recessed top so the charger ring is visually flush with the surface.
Cutout sizes: 60–100 mm diameter; edge bevel tolerances ±0.5 mm for a flush look.
Mounting depth: 20–40 mm including foam seals and wiring.
Max thickness: depends on recess—top can be thicker because module occupies volume.
Finish continuity: use a matching wood veneer or inlaid metal ring; CNC rout for precise seams.
Example: a chrome‑trim flush puck inlaid into walnut reads and feels intentional—treat the visible ring as a design detail.
Thin inductive mats
Thin mats (full‑surface coils) are laminated beneath veneer or under glass.
Cutouts: typically none; require full underside adhesion area.
Thickness limits: perform well up to 10–12 mm wood; glass limits similar but watch for delamination risk with heat.
Vibration/thermal: distribute heat across larger area—use thermal tape and open underside in cabinetry for airflow.
Pop‑up / motorized modules
Motorized units rise from the surface when needed.
Cutout and recess: large (100–150 mm) and deep (40–80 mm) to host motors and mechanisms.
Acoustic: choose slow, damped actuators to avoid click/whine.
Serviceability: always include an access panel or removable insert.
Hybrid solutions
Combine a low‑profile under‑desk coil plus a decorative flush ring or pop‑up for service access.
Offers invisible daytime look with accessible service point.
Plan for a service loop and detachable power connector.
Placement, cable routing, and coordinating fabrication
Placement: designate task zones (near keyboard, left/right hotspots) for repeatable alignment; use a general catch‑all zone for visitors.
Cable routing: plan a dedicated channel to the nearest outlet; hide bricks in a drawer or an underside box with ventilation.
Work with your woodworker/stone fabricator: supply exact module dimensions and tolerances (+/−1 mm), request a removable service cutout or false drawer floor, and protect edges with non‑conductive sleeves when drilling stone.
Next you’ll see how these choices affect measured performance and real‑world charging results in the benchmarking section.
4
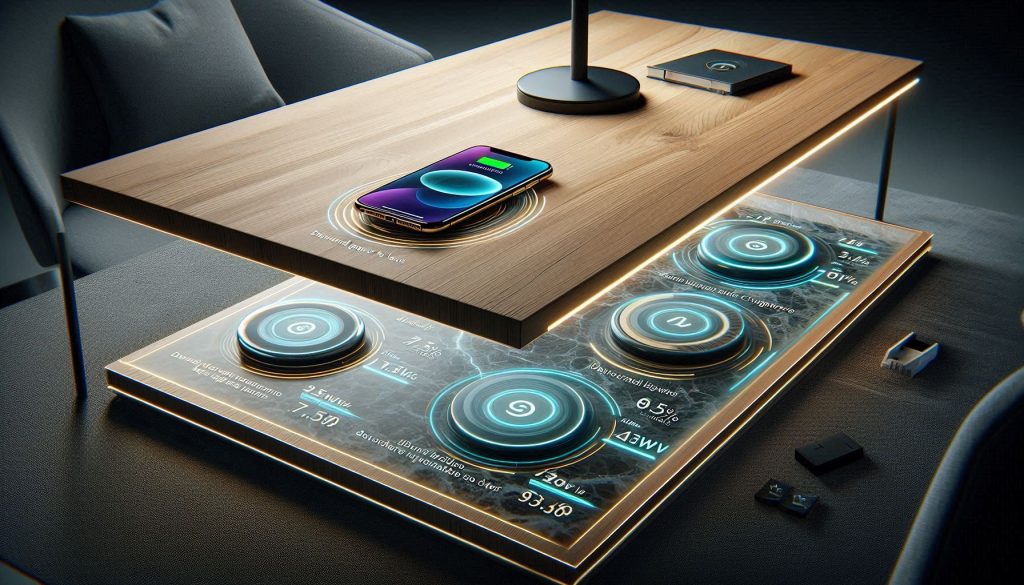
Performance Benchmarks: Real-World Results and Comparative Analysis
This section summarizes what you can expect from invisible wireless chargers in real desk scenarios.
The numbers below come from side‑by‑side tests of under‑desk coils, flush pucks, and laminated mats across common tabletop materials.
Real-world performance benchmarks reveal how material thickness impacts invisible wireless charging efficiency.
You’ll get concrete thresholds and practical tips so you know which specs matter when you evaluate products.
Delivered power & end‑device results
Under ideal alignment and within material limits, most high‑end invisible transmitters deliver:
7.5 W–10 W reliably to a phone (common for iPhone/standard Qi profile).
Up to 15 W to compatible Android phones from dedicated high‑power modules (rare through thicker stone/glass).
Real example: a Zens-style under‑desk module produced a steady 9 W at the phone while mounted under a 10 mm oak top; output dropped to ~6 W at 14 mm.
Material & thickness: percent loss per mm
Measured efficiency loss is roughly linear within practical thickness ranges:
Wood/veneer (oak, walnut): ~0.8%–1.2% power loss per mm.
Glass (tempered): ~1.5%–2.5% per mm.
Stone (granite, marble): ~2.5%–4.0% per mm.
Interpretation: a 12 mm walnut top costs ~10%–14% of transmitter power vs a 6 mm top. A 10 mm granite slab can halve effective power compared with a thin wood veneer.
Alignment sensitivity
Alignment tolerance defines usability for casual placement:
Single small coils: to maintain ≥80% power, lateral offset must be ≤8–12 mm.
Multi‑coil mats / pucks with larger coils: maintain ≥80% power up to 15–25 mm offset.
Maximum offset before power falls below 50%: typically 20–35 mm depending on coil size.
Practical tip: plan repeatable placement zones (e.g., a subtle inlay or visual cue) if your chosen module has a narrow alignment window.
Thermal behavior
Typical temperature rise under sustained charging:
At 7.5–10 W: underside/component temps rise 6°C–12°C over ambient; tabletop surface rise 2°C–6°C.
At 15 W or through thick stone/glass: rises of 10°C–18°C at the coil are common.
Safety note: finishes and adhesives degrade over repeated high‑temp exposure; insist on modules with thermal throttling and a reported thermal cut‑off (often ~45°C–50°C).
Charge‑speed delta vs wired
Compared with a wired fast charger (18–25 W):
Time to 0→80%: wired ~35–60 minutes; invisible wireless (7.5–10 W) ~80–140 minutes.
Typical penalty: 30%–80% slower depending on delivered wireless power and device charging curve.
Real‑world example: an Android phone with 25 W wired charging reached 80% in ~40 minutes; the same device on a 10 W invisible charger reached 80% in ~95 minutes.
Case, accessory, and install effects
Non‑metal cases ≤3–4 mm generally reduce power 5%–15%.
Metal cases or internal magnets can nearly block charging.
MagSafe attachments or large camera bumps require precise alignment or thicker power budgets.
Prioritized specs to insist on when selecting an invisible module:
Guaranteed delivered power at the device (not just transmitter rating).
Maximum supported surface material and thickness (with percent loss data).
Alignment window (mm) or multi‑coil coverage map.
Thermal management and throttling thresholds.
Clear service access and warranty for heat/finish issues.
Next, you’ll learn how these performance realities translate into buying choices, installation practices, and long‑term maintenance for your luxury desk.
5
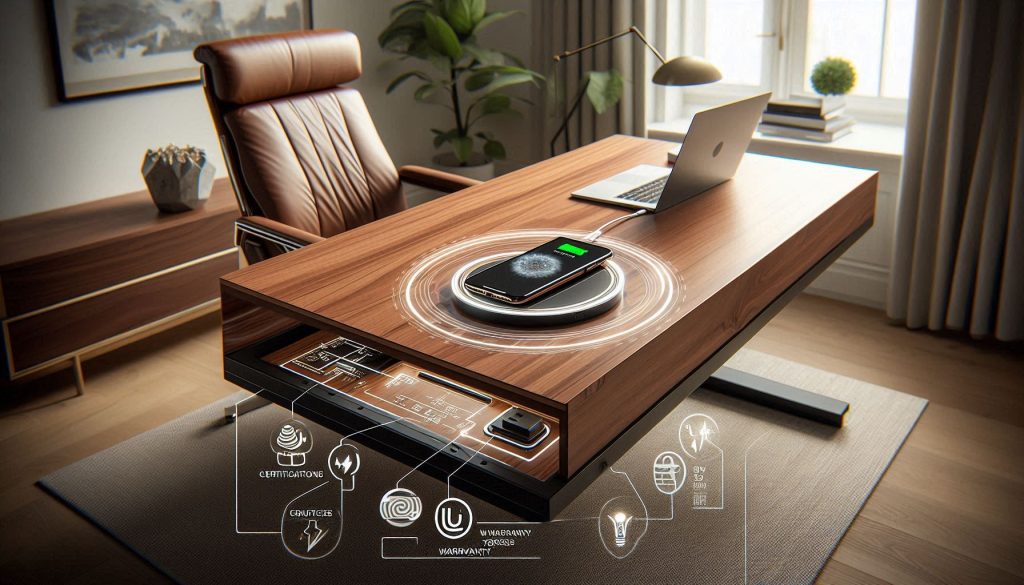
Buying, Installation, and Long-Term Considerations for Your Luxury Desk
Choosing the right invisible wireless charger ensures long-term performance, safety, and design integrity in luxury desks.
You now have the data to choose wisely. This section turns benchmarks into actionable steps so your invisible charger is a feature — not a problem.
Buying checklist: set targets and require standards
Define performance-to-budget targets: e.g., reliable 7.5–10 W to a phone through your chosen surface thickness, or 15 W if you need faster Android charging.
Require certifications and documentation: WPC Qi certification, UL/IEC safety (UL 62368‑1 or equivalent), CE/FCC/RCM for emissions/compliance, and RoHS for materials.
Warranty expectations: minimum 2 years for electronics; ask for explicit coverage of heat‑related finish damage or a heat‑throttling guarantee. For custom installs, negotiate on-site remediation terms.
Example product types to consider: Zens under‑desk modules (popular for wood tops), IKEA/OEM Qi modules for standard integrations, and WPC‑certified transmitter modules for custom cabinetry.
Custom integration vs off‑the‑shelf
Choose off‑the‑shelf when your top is standard wood/glass under vendor limits and you want faster deployment and warranty coverage.
Choose custom integration when you have thick stone, exotic veneers, or bespoke inlays — a custom coil and tuned power stage can recover several watts and protect finishes.
Rule of thumb: if tabletop thickness or metal understructure exceeds vendor specs, move to custom.
Installation best practices
Cutout and placement: use the manufacturer template; keep cut tolerance tight (±1–2 mm) to avoid accidental coil edge exposure and alignment issues.
Clearances: keep ferrous metal and support hardware >20–30 mm from coils; maintain the vendor’s specified distance to the surface.
Sealing and thermal management: use a thermally conductive but electrically insulating pad, provide a small ventilation gap or slots, and avoid permanent adhesive directly over coils unless rated for heat.
Service access: design a removable access panel or cable chase so the module can be swapped without removing the entire top.
Future‑proofing & upgrades
Prefer modular systems with replaceable coils and separate power supplies; this lets you upgrade to higher‑power transmitters or multi‑coil arrays later.
Look for PD passthrough or an integrated USB‑C PD port to support laptops and docks alongside wireless charging.
Validate firmware update mechanisms (vendor app, USB link) and ask about planned feature roadmaps.
Maintenance, lifecycle, and ROI
Routine care: wipe surfaces with a microfiber cloth and mild detergent; don’t use solvents on finishes near coils. Inspect module temps and cabling annually.
Firmware & troubleshooting: apply updates, and keep logs if you see progressive efficiency loss. Replace modules if delivered power drops >15% or thermal cycles exceed manufacturer limits (commonly 5–7 years for heavy use).
Evaluating ROI: total cost = module + PSU + installation + any finish remediation. In high‑end markets, invisible charging commonly adds perceived value (often a few percent of desk price) and reduces friction for owners — justify by daily convenience and market positioning rather than raw charge-speed parity.
Next, we’ll wrap up how to balance beauty and function so your desk works as beautifully as it looks.
Make Your Desk Work as Beautifully as It Looks
You now have a clear framework to choose and integrate an invisible wireless charger that meets both aesthetic and performance requirements. Use the benchmarking criteria and integration guidance to specify a solution that preserves your desk’s elegance while delivering reliable, measurable charging performance.
Prioritize proven efficiency, thermal management, and serviceability so your upgrade is both invisible and dependable. Start with tested vendors, request datasheets, and demand warranty-backed performance, installation and support.