
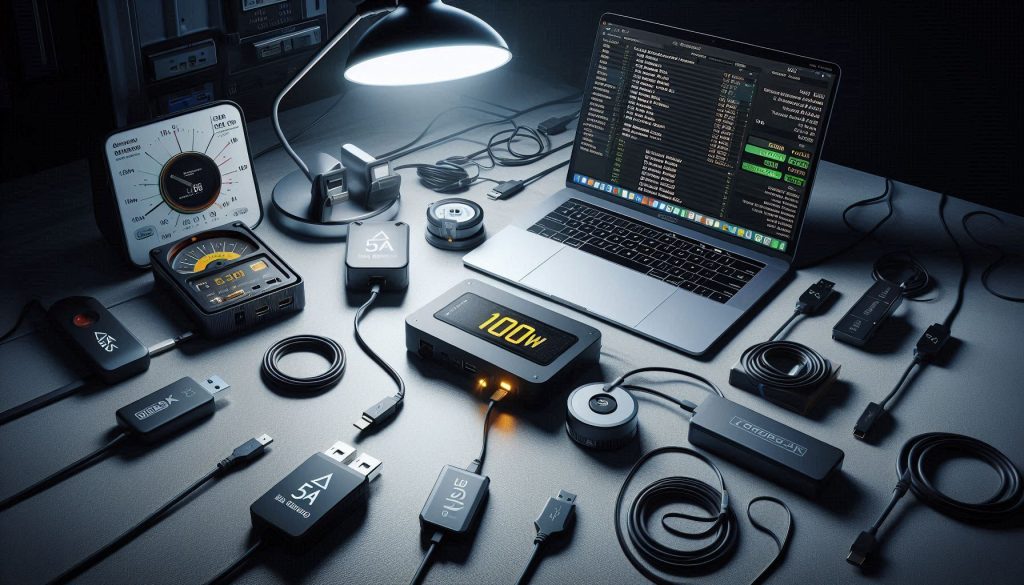
Finding a reliable, high-performance workspace solution shouldn’t break the bank, especially with the modern shift toward power-hungry professional laptops. If you’re looking for the best budget USB-C docks, the real game-changer is 100W Power Delivery (PD). This feature ensures that even demanding workstations, like the latest MacBooks or Dell XPS models, stay fully charged while driving external monitors and high-speed peripherals. In this guide, we cut through the clutter to find affordable docking stations that deliver “pro-level” charging and connectivity without the premium price tag.
Modern remote work setups require more than just extra ports; they require stability. Many cheap hubs fail when connecting dual 4K monitors or external SSDs because they lack sufficient power overhead. By choosing a 100W PD docking station, you bypass the common battery drain issues and flickering screens associated with lower-wattage alternatives. We’ve analyzed top-rated budget picks, focusing on those that offer a seamless, one-cable setup to maximize your productivity and keep your desk clutter-free.
Why 100W PD Matters for Budget USB-C Docks
You want a dock that charges your laptop at full speed while powering peripherals. 100W Power Delivery (PD) lets you do that: many 15–16″ laptops draw 60–90W under load, and 100W passthrough prevents throttling or battery drain during heavy work. On a budget dock, it means fewer compromises.
With true 100W PD you can consolidate adapters. One USB‑C cable can handle display, data, Ethernet and high-watt charging, so you avoid juggling chargers and hubs. That simplifies setups at home, office, or when traveling.
Be cautious: inexpensive docks often quote 100W but split power across ports or rely on noncompliant firmware. This guide focuses on measurable outcomes — actual charge rates, thermal behavior, and compatibility — so you know what to expect and how to verify claims before buying. You’ll learn practical checks and trade-offs to shop with confidence without overspending or guessing.
What 100W PD Actually Enables: Real-world Use Cases

You’ll learn the practical benefits of having 100W PD available on a budget dock and which devices actually take advantage of it. This section breaks down typical power draws for mainstream laptops, ultrabooks, and power-hungry workstations so you can gauge whether 100W passthrough will keep your device charged under load.
Typical power draws — what to expect
These are ranges — check your laptop’s OEM charger rating (it’s the first clue whether 100W will be enough).
Mixed-use scenarios that matter
When you run heavy CPU/GPU tasks and drive one or more external 4K displays, your laptop’s power draw climbs. Add peripherals (external HDDs, phones charging from the dock), and the dock’s passthrough becomes the fulcrum between steady charging and slow battery drain.
Quick rule of thumb:
PD negotiation in plain terms
PD negotiation is a handshake: your laptop requests a voltage/current level; the dock (or its charger) offers a set of fixed profiles (e.g., 5V/3A, 20V/5A). If the cable, dock, or firmware doesn’t support the top profile, your laptop falls back to a lower one. That’s why a dock advertising “100W” won’t deliver it unless:
Common limitations and how to mitigate them
Simple, actionable checks you can run
Next, you’ll learn which technical features to compare on budget docks so you can spot trustworthy 100W claims and avoid the common traps.
Key Technical Features to Compare on Budget Docks

You want a checklist — numbers you can ask for, quick tests you can run, and tradeoffs that are acceptable for a low-cost 100W-capable dock. Below are the technical features that actually change the real-world experience.
Ports and real usefulness
Look beyond the count to the type and spec of each port. Ask for:
Examples you’ll see: budget hubs commonly offer USB 3.2 Gen 1 (5 Gbps), HDMI 2.0 (4K@60Hz single), and 1 GbE — fine for office work, not for pro video or multi-4K setups.
PD passthrough: marketing vs reality
Don’t accept “100W” as a marketing badge. Ask for:
Numbers to request: measured wattage to the laptop under a realistic load (e.g., CPU stress + external display). If the vendor can’t provide that, plan to verify with a USB-C power meter.
Display support: Alt Mode, MST vs SST
Budget docks typically use DisplayPort Alt Mode (single-lane) and often only support SST (single-stream). Key questions:
If you need dual high-refresh 4K, expect to pay more — many cheap docks cap one monitor at 4K@60 and the second at 4K@30 or 1080p.
USB host bandwidth and port-sharing
The dock’s uplink (internal host link to your laptop) is the bottleneck. Common uplinks:
Tip: If multiple SSDs or a webcam + external drive are active, you’ll see per-device throughput fall dramatically on Gen 1 hubs.
Latency, Ethernet, and drivers
Build, thermal, and reliability signals
Metal housings and passive cooling help dissipate heat when passing 100W; small plastic dongles can get hot and throttle PD or USB controllers. Ask for temperature specs, and if possible read user thermals and long-run PD stability tests.
Quick test plan you can run: verify PD with a power meter, copy large files to an external SSD to measure throughput, run iperf to check Ethernet speed, and connect your monitor(s) to confirm resolution/refresh under load.
How to Evaluate Performance and Compatibility Yourself
You’ll get a compact, practical test protocol you can run in an afternoon to verify a dock’s claimed 100W PD and overall behavior. Follow the steps below with the recommended tools, then use the interpretation tips to decide if a dock meets your needs.
Tools you’ll need
Step-by-step tests
- PD idle and baseline
- Full-load PD test
- Charging curve (practical speed)
- Video validation
- USB throughput
- Ethernet
How to interpret results
Compatibility checklist
Watch for host-port limits (some laptops cap PD), non-E‑marked cables, and firmware updates that fix or break features. Next up: which dock types and port mixes give you the best value for different budgets.
Which Dock Types Work Best for Different Budget Needs
You’ll see four practical dock form factors in the budget 100W space. Below I map each to common workflows, call out typical strengths and compromises, and give quick product-family examples so you know what to look for.
Travel hubs — ultra-portable, single‑cable convenience
Best if you prioritize portability and minimal desk clutter (frequent travelers, hot‑desking).
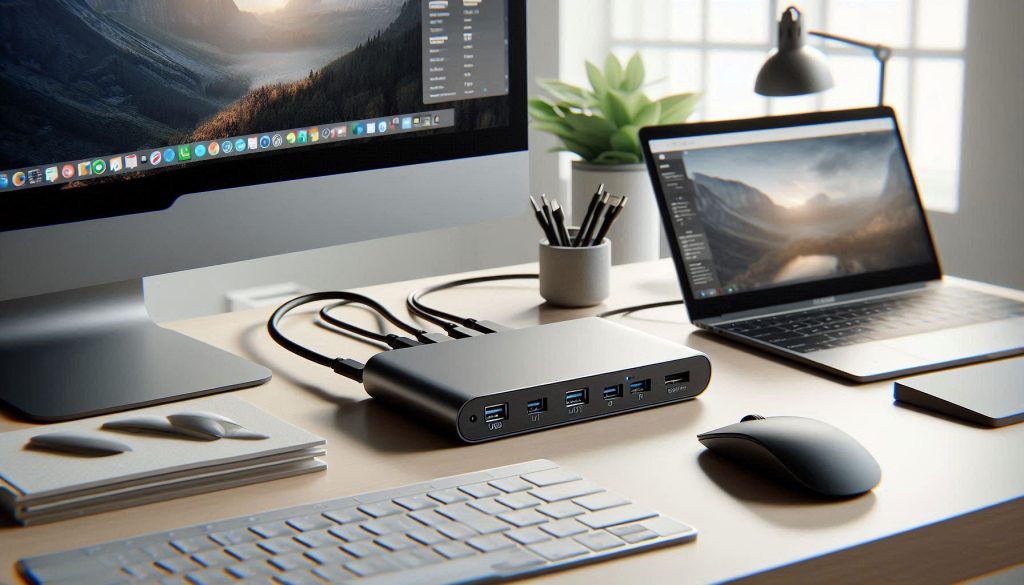
Compact desktop docks — balanced port set, modest multi‑display
Best when you want a steady desk setup without a big footprint (students, remote workers).
Full‑featured desktop docks — more ports and better thermals
Best for a dedicated workstation where you want reliability and sustained performance (creatives, developers).
Specialty docks — pick for a specific need
Best when you have a single priority: ultra‑fast Ethernet, card reader heavy workflows, or many monitors.
Quick matching tip: if you travel and charge quickly, pick a travel hub; if you need reliability under load, invest in a full‑featured dock; if you need many displays or cards, choose a specialty unit. Next, we’ll cover buying strategy — how to balance price, performance, and risk when choosing among these types.
Buying Strategy: Balancing Price, Performance, and Risk

You’ll want a pragmatic, evidence-first shopping strategy so the “100W” on the box matches your day-to-day needs. Below are concrete, step-by-step tactics to minimize surprises and get the best value.
Read the spec sheet like a buyer, not a marketer
Look for these red flags and confirmations in product listings:
Verify sustained PD delivery — don’t trust peak numbers
Seek verified test results from reviewers who measure wattage under load. Good sources include Tom’s Hardware, NotebookCheck, and power‑measurement videos from tech channels (they often show real sustained watts). Also check user reports on Amazon, Reddit (r/Ultrabooks, r/applehelp), and manufacturer forums for long‑term behavior — e.g., whether a dock can keep a 15″ laptop charging during video export.
Use warranty/return windows as a live test period
When your dock arrives, run a short validation plan during the return window:
Cable selection matters
Always use an E‑marked USB‑C PD cable rated for 5A/100W (Anker, Belkin, Cable Matters have reliable options). Without an E‑mark, even a good dock can be limited to 60W or fail to negotiate the correct PD profile.
Prioritize which concessions you’ll accept
Decide before buying what you can live with:
Vendor support and firmware updates
Prefer brands that publish firmware updates and respond to support queries (CalDigit, Dell, Anker are better than generic OEMs). Firmware fixes often resolve PD negotiation and compatibility issues — something you’ll appreciate if your laptop model is newer.
When to step up in price
If you need sustained charging under heavy CPU/GPU load, reliable dual‑monitor support, or better thermals, bumping from a $60–80 hub to a $120–220 dock (CalDigit TS3 Plus‑class or OEM branded docks) often gives disproportionately better reliability and support.
Next, we’ll pull these tactics together so you can make a confident, affordable pick in the Conclusion.
Making a Confident Choice for an Affordable 100W Dock
Prioritize sustained PD delivery, the port layout that matches your devices, and verified host compatibility. Focus on measured wattage under realistic loads, native video modes your laptop supports, and whether the dock maintains temperatures and full power for long sessions. Avoid trusting peak numbers alone.
Test or check third‑party reviews for sustained PD and video performance before buying. Match dock type — compact pass‑through, multiport hub, or powered docking station — to your workflow rather than marketing claims. When in doubt, choose a slightly higher‑rated PD supplier and a seller with a clear return policy.
Luxurious Home Multi-Device Charging Hubs