
Do you find yourself juggling half a dozen different apps just to run your lights, locks, cameras, and thermostats? This digital fragmentation does more than just clutter your phone; it costs you valuable time, creates potential points of failure, and often hides system errors until they become home emergencies. Consolidating your smart home control into a single, unified app is the most effective way to reduce technical complexity and speed up daily tasks. By streamlining your interface, you create a more resilient ecosystem where monitoring your security and energy usage becomes a seamless, “glance-and-go” experience rather than a digital chore.
This comprehensive guide shows you exactly how to take control of your connected environment. We begin by helping you define your specific goals—whether you prioritize local control privacy, remote access, or universal scenes—and conducting a thorough device inventory. You will learn how to choose the right smart home architecture, such as Matter-compatible hubs or open-source platforms like Home Assistant, to ensure long-term scalability. From integrating various communication protocols to designing reliable automations that act predictably, we provide the roadmap to a professional-grade setup. Start measuring your success through reduced task completion times and improved system uptime as you migrate to a truly unified smart home app.
Why consolidate control of your smart home
Do you juggle half a dozen apps to run lights, locks, cameras, and thermostats? That fragmentation costs you time, creates points of failure, and hides problems until they become emergencies. Consolidating control into a single, unified app reduces complexity, speeds common tasks, and makes your home easier to monitor and maintain.
Experience the Convenience of a Smart Home with One App
This guide shows you how to take control. First, you’ll define your goals and inventory every device so decisions are targeted. Next, you’ll choose the right platform and architecture to ensure compatibility and scalability. Then you’ll integrate devices, covering protocols, hubs, and discovery strategies. After that, you’ll design reliable automations, scenes, and user interfaces that act predictably. Finally, you’ll learn to maintain security, privacy, performance, and long-term reliability.
Track measurable benefits like failure rates, task completion time, and security incidents as you migrate. A single app won’t solve everything, but increases resilience.
Define your goals and inventory your devices
Clarify what “one app” means for you
Start by writing a short, specific goal: remote control from anywhere, strictly local control, universal scenes across rooms, voice integration, or energy monitoring.
A clear objective prevents scope creep—do you want every camera and plug inside the same UI, or just lights and climate? Example: “Local control of lights, locks, and thermostat with voice fallback and energy reporting for major loads.”
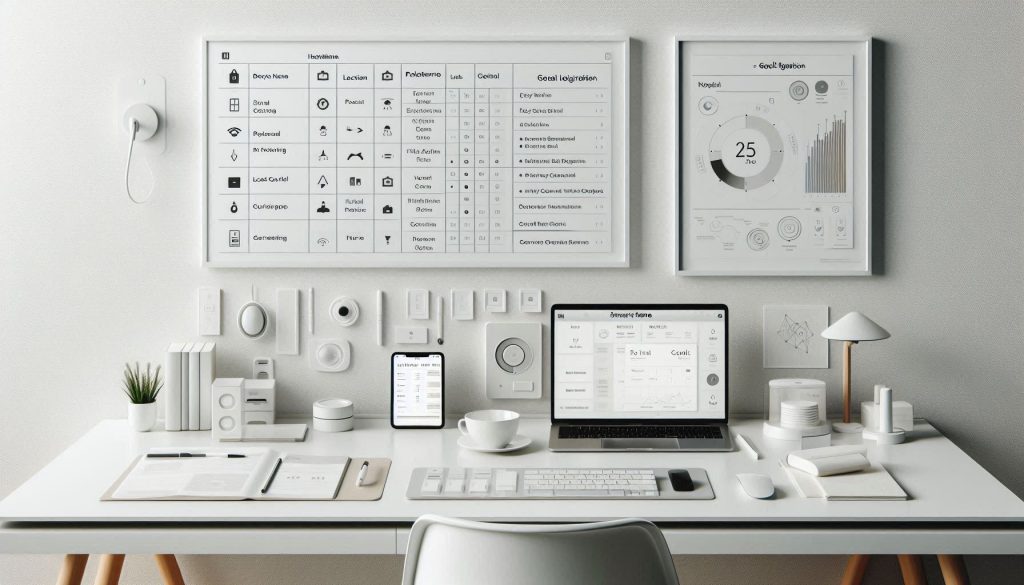
Create a device inventory (step‑by‑step)
Build a spreadsheet with one row per device and these columns: Device name, Location, Type (light, sensor, lock…), Connection (Wi‑Fi, Zigbee, Z‑Wave, Thread, Bluetooth, cloud), Model & firmware, Power (mains/battery), IP/MAC, Current app or cloud, Automation owner, Notes (reliability, quirks).
Use this workflow to populate it:
- Walk the house and record visible devices (lights, plugs, cameras, sensors, thermostats, hubs, switches).
- Run a network scan (Fing, Advanced IP Scanner, or Nmap) to find Wi‑Fi devices and IPs.
- Open each vendor app to capture cloud‑only devices (Ring, Wyze, Tuya/Smart Life).
- Query hubs/controllers (Philips Hue Bridge, Samsung SmartThings, Aeotec Z‑Stick, Home Assistant) for Zigbee/Z‑Wave/Thread endpoints.
- Note firmware versions—outdated firmware is a common interoperability blocker.
Quantify your baseline with simple metrics
Track a few measurable baselines so you can prove improvement:
Prioritize onboarding order
Choose which devices to bring into your single app first using a simple score: Impact (frequency of use) + Compatibility (local API or supported integration) + Risk (security critical: locks/cameras score high). Example priorities:
Quick product examples
This inventory-first, metrics-driven approach turns vague goals into an actionable roadmap and makes the migration manageable and measurable.
Choose the right platform and architecture for unified control
This section helps you pick an approach that matches your goals and constraints.
You’ll weigh local‑first platforms, cloud‑centric services, and hybrid architectures—then apply a practical decision framework so you can balance latency, reliability, privacy, and maintenance.
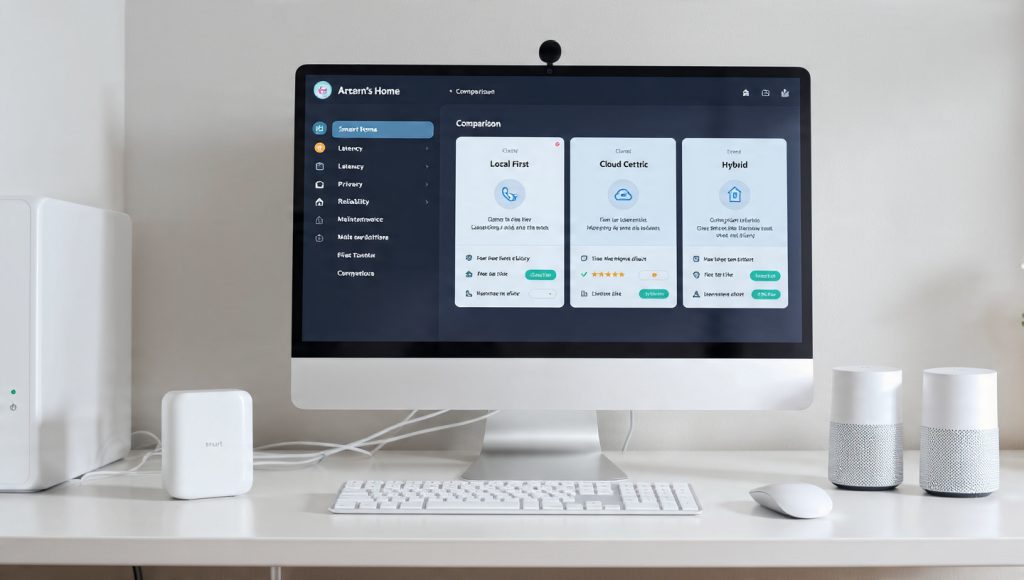
Local‑first vs cloud‑centric vs hybrid: practical trade‑offs
Real anecdote: a household that moved Hue lights and Ecobee routines into Home Assistant saw average on/off latency drop from ~1.2s (cloud path) to ~110ms (local Zigbee + local automations).
Platform selection criteria (checklist)
Ask about:
Example product notes: Home Assistant excels at protocol breadth and community integrations; Hubitat focuses on local reliability and low-latency rules; HomeKit favors privacy and tight Apple ecosystem support.
Decision framework — questions to ask
Measurable metrics and acceptable ranges
Next, you’ll use these platform choices to plan device integration—protocols, hubs, and discovery strategies—so your chosen architecture actually connects to every device in the house.
Integrate devices: protocols, hubs, and discovery strategies
After you pick a platform, the next job is reliable device integration.
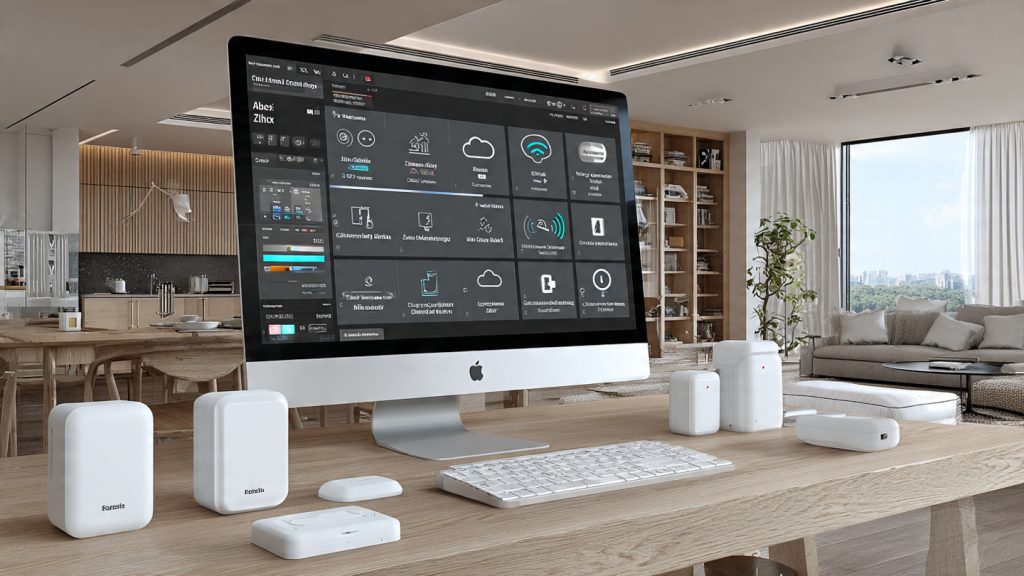
Think of this as plumbing: pick the right pipes (protocols), joints (hubs/bridges), and testing routine (discovery + verification) so commands and state flow consistently.
Integration approaches — when to use each
Choose bridges for certified behaviors (color accuracy, firmware OTA). Prefer standardized gateways for maximum control and long-term portability. Use cloud only if local options are unavailable.
Wireless protocols & mesh realities
Practical tip: avoid overloading a single coordinator with >50 Zigbee nodes; split networks or add extra coordinators (Zigbee2MQTT supports multiple).
Device onboarding checklist (stepwise)
Example: pair a Sengled bulb to Hue Bridge, then rename to “Dining Light,” add to “Dining” group, restrict removal to admins, and verify on/off and brightness changes respond <300 ms.
Troubleshooting common discovery problems
Quick anecdote: a multi‑apartment building saw frequent Zigbee drops — swapping the coordinator channel and adding a single USB repeater reduced packet loss from 12% to 1.4%.
Instrumentation — measure what matters
With these practices you’ll move from ad hoc pairing to a repeatable, measurable integration process that scales as your home grows.
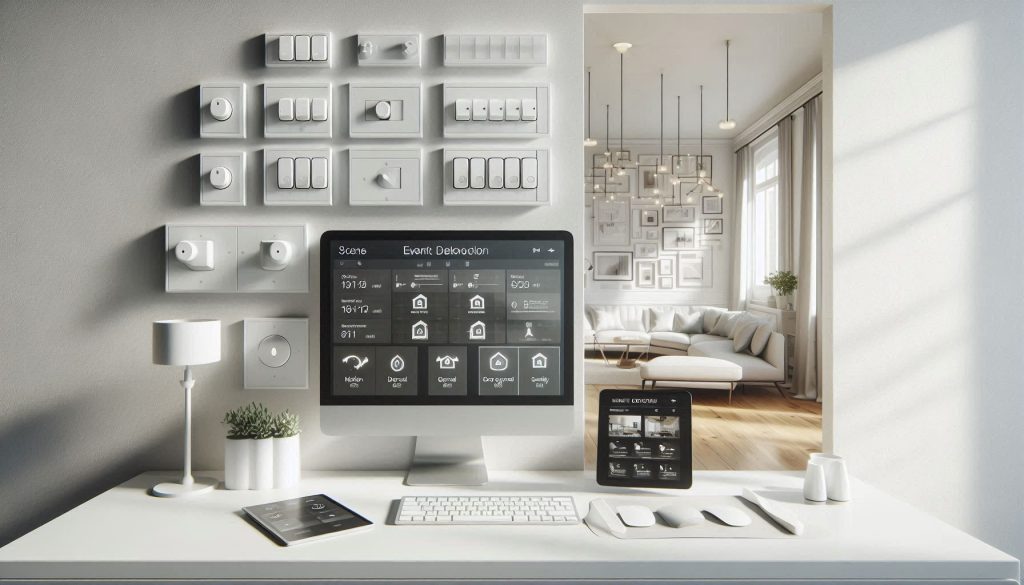
Design reliable automations, scenes, and user interfaces
Control consolidation succeeds or fails based on the quality of your automations and the UI you provide for everyday use. The guidance below gives concrete patterns, naming rules, testing steps, and UI principles you can apply immediately.
Automation patterns that are predictable
Use event-driven triggers for immediacy (motion detected, door opened) and state-based conditions for safety and idempotence (only run when light is off, only between 07:00–23:00). Lean on proven platforms:
Example: “If front‑door opens AND security_mode = away, then turn on porch light + start camera recording.” This avoids false positives by requiring both event and state.
Debounce, hysteresis, and rate limiting
Prevent flapping and cascading failures with simple techniques:
Real anecdote: a cheap door sensor generated 200 light toggles/day until a 20s debounce cut it to 2.
Graceful fallback actions
Plan for device or network failures:
Naming, grouping, and scene design
Reduce cognitive load with consistent conventions:
Example scenes: “Livingroom: Movie (dim to 15%, close shades, set TV input).” Implement this as one scene calling grouped entities.
Designing dashboards and mobile pages
Prioritize the most-used controls:
Testing, staged rollouts, and metrics
Validate before household-wide release:
Track these with platform logs or Prometheus + Grafana.
Permissions and accessibility
Assign roles (admin vs guest) for critical devices (locks, cameras). Ensure accessibility: screen‑reader friendly labels, high-contrast UI, and voice control for users with mobility needs.
Next, you’ll apply these durable designs to keep the system secure, private, and performant as you scale, which is the focus of the following section.
Maintain security, privacy, performance, and long-term reliability
Consolidating control concentrates risk unless you design for resilience and privacy.
Below are practical, actionable practices to keep your unified smart home safe, fast, and reliable.
Threat modeling and access control
Think like an attacker: what happens if a camera, phone, or cloud token is compromised?
Network segmentation and secure local APIs
Isolate IoT from your private LAN and minimize cloud exposure.
Firmware updates, encrypted backups, and rollback
Have a repeatable update and recovery plan.
Monitoring, logging, and incident response
Detect anomalies early and respond with a checklist.
Performance, latency, and power management
Measure and optimize system responsiveness and device endurance.
Redundancy and long-term metrics
Design for single‑point failures and track health over time.
With those practices in place you’ll significantly reduce risk and downtime — next, the Conclusion provides a compact, practical roadmap to implement this plan in your home.
A practical roadmap to unified smart home control
Inventory your devices, pick a platform using the decision framework, onboard highest‑impact devices, and iterate automations with tests. Institute security, privacy, monitoring, and maintenance baselines. Expect reduced app sprawl, faster control, higher automation reliability, and privacy gains. Measure baselines and prove progress.